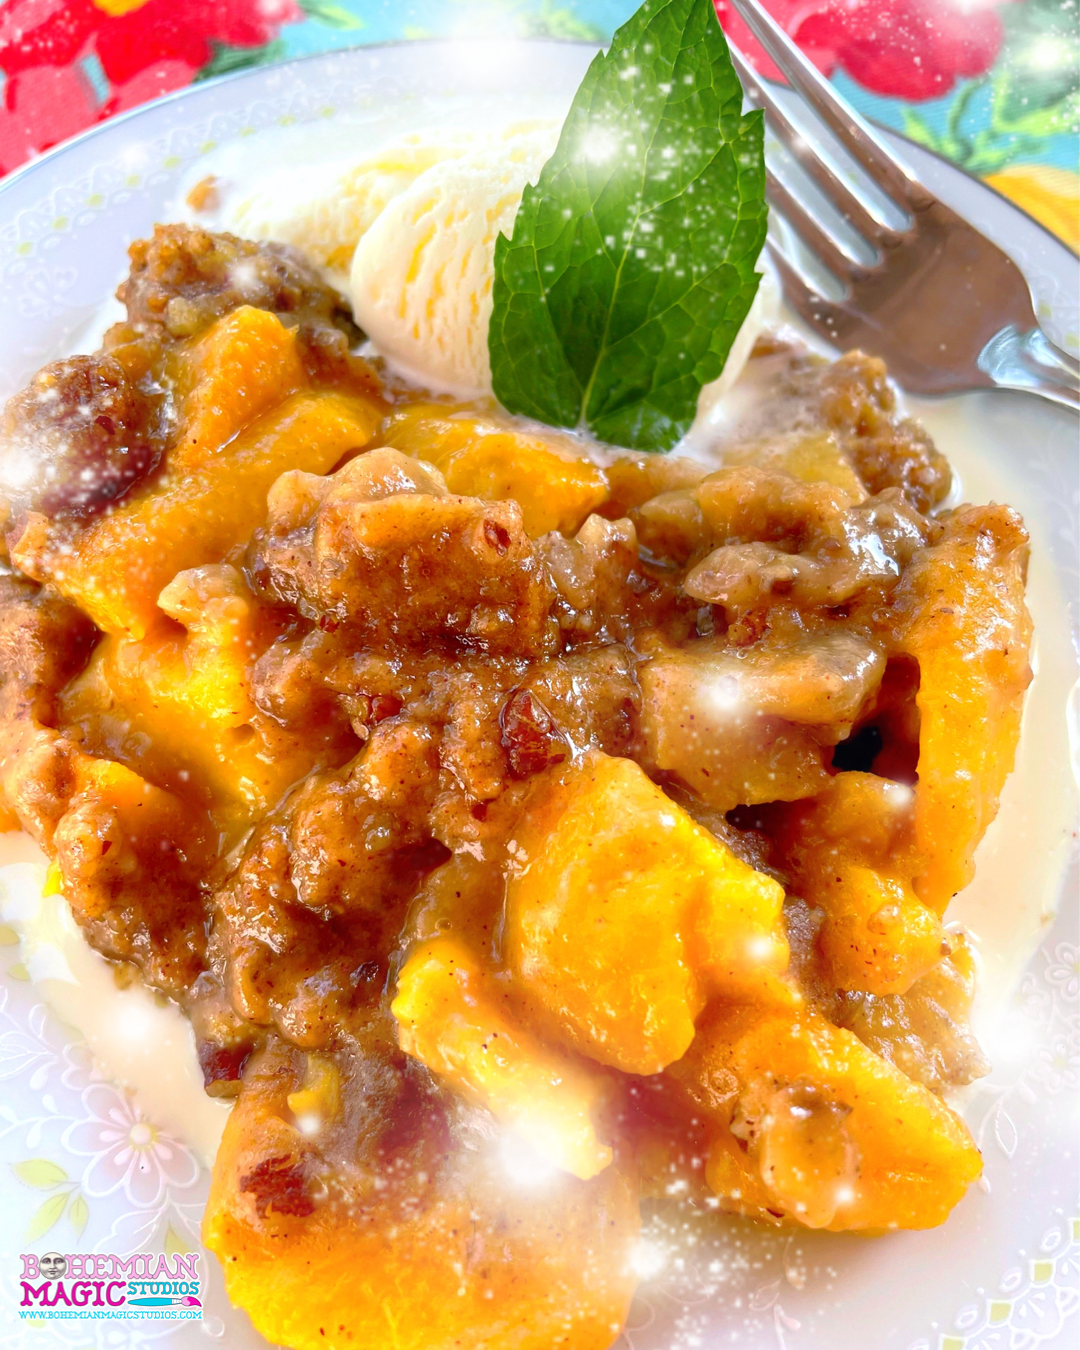
 Happy September! In today's video, I would like to show you one of my FAVORITE recipes for this month! And that is PEACH CRUMBLE PIE! Peach Crumble Pie is one of my favorite recipe to make every September because this is the month of the in between time! The month of September blends summer and fall together; it is still warm enough to spend some time in the garden, and enjoy our harvest of fruits and vegetables. But it is also a time when we introduce all of the sugar and spice as we turn over and start getting cozy for AUTUMN! Ingredients for Peach Pie Filling 5-6 Fresh Peaches 1/2 Lemon 1/2 cup brown sugar 1/2 cup flour 1/4 teaspoon cinnamon Directions for Peach Pie Filling 1. Wash your peaches, peel them, and cut them into flat slices. Place them in a large mixing bowl. 2. Juice your 1/2 a lemon, which should come to about 2 tablespoons. Add your 2 tablespoons of freshly squeezed lemon juice, to the peaches in your large bowl. 3. Measure out 1/2 cup of brown sugar, 1/2 cup of flour, and 1/4 teaspoon of cinnamon. Add all of them to your mixing bowl with your peaches, and combine until the brown sugar, flour, and cinnamon are coating your peaches completely, like a paste. 4. Grease a 9 inch glass pie plate with the end of a stick of butter. Pour your peach filling mixture into the pie plate until it is filled to the brim, and pack the peaches down with a spatula, ensuring all peach slices are laying flat. 5. Set aside so we can make our crumble topping! Ingredients for Crumble Topping 1/2 cup brown sugar 1/2 cup flour 1/4 teaspoon cinnamon 4 tablespoons unsalted butter (melted) 1/4 cup crushed pecans Directions for Crumble Topping 1. In a clean bowl, combine 1/2 cup of brown sugar, 1/2 cup of flour, 1/4 teaspoon of cinnamon and 1/4 cup of crushed pecans. 2. Melt about 4 tablespoons of butter and add to your bowl of dry ingredients. Combine until it forms a crumby consistency. 3. Sprinkle your topping over your pie plate filled with your peach filling. Make sure every inch of your peaches are covered. Baking Instructions Place in your preheated over of 350 degrees for about 50-60 minutes, until the top and center of the pie is bubbling. Let cool 20-30 minutes prior to serving. Serving Instructions Serve your pie with a dollop of ice cream of choice, and top with a sprig of mint garnish. You can also use whipped cream instead of ice cream. If you do decide to try this recipe, I'd love to see your photos! Tag me on Instagram! @BohemianMagicStudios!
0 Comments
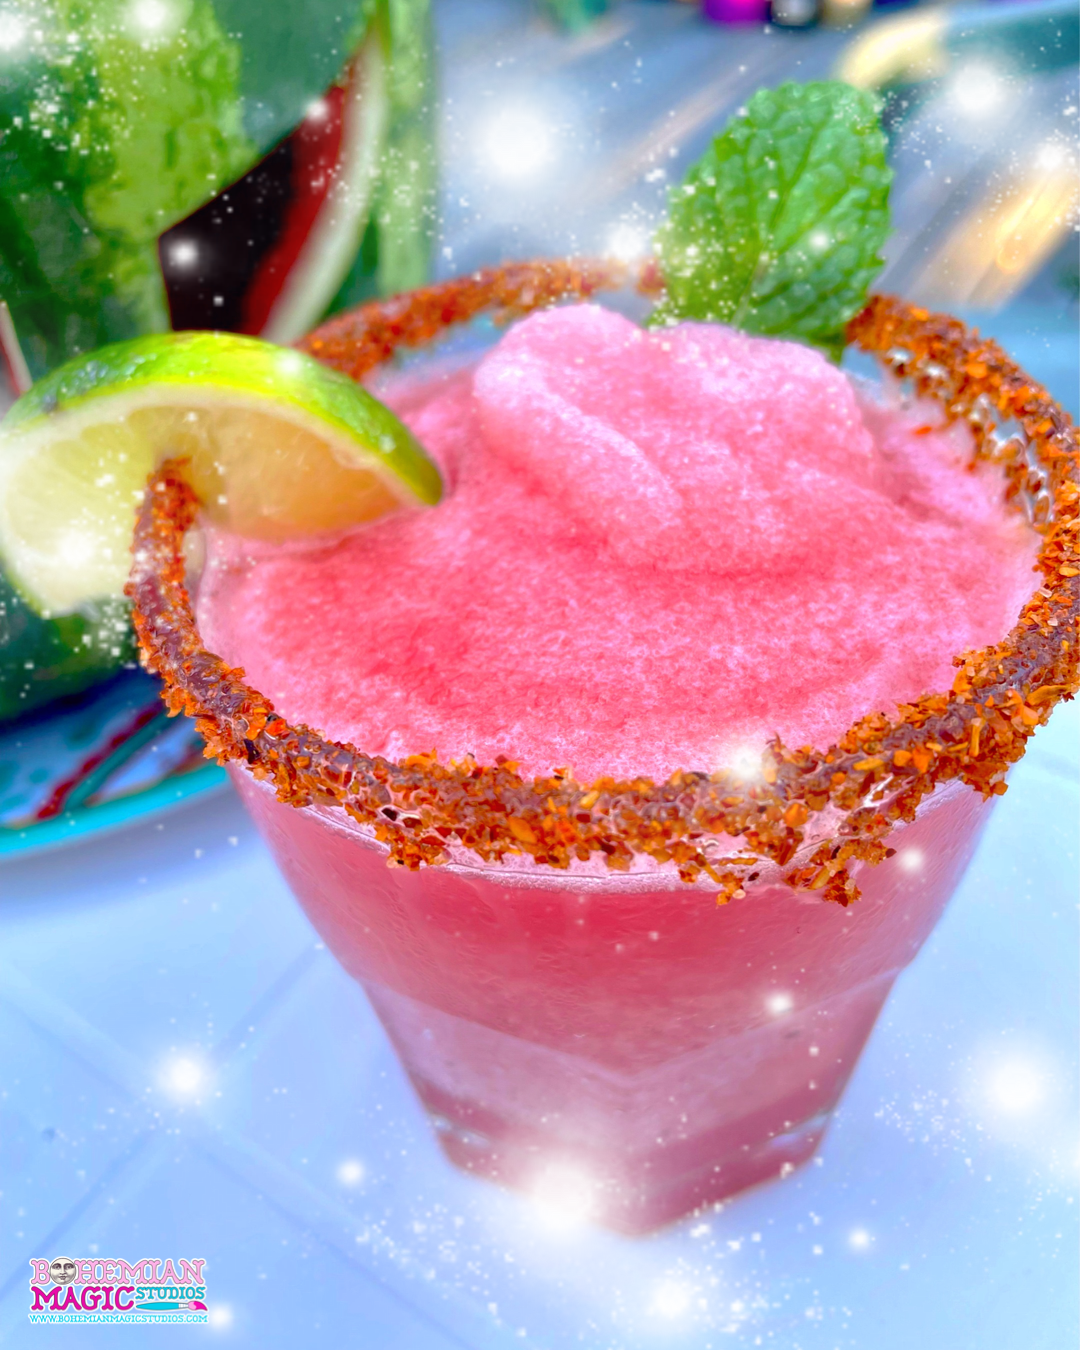 This is a yummy and refreshing frozen elixir that you can enjoy all summer long!
WHAT YOU'LL NEED One 8 oz glass per person A Shot Glass Your alcohol of choice (rum, tequila, or vodka) 1 Cup of Freshly Pressed Watermelon Juice per person 1-2 Limes Cucumber Bitters A few sprigs of Mint Lots of Ice! A Blender Tajin Seasoning Honey 2 small plates DIRECTIONS 1. Fill 8 oz. glass with ice and measure out one shot of your desired alcohol into the glass. 2. Now fill the rest of the glass with your freshly pressed watermelon juice. I can show you how to press your own fresh watermelon juice in this recipe blog post here! I also demonstrate how to do so in my Summerween Vlog part 2 where we explore all things watermelon! 3. Add the contents of each glass you prepare per person, into your blender. Add extra ice to your desired amount. The more ice you add, the slushier it will be. Blend on highest setting. 4. Now let's rim our glass! Get out your 2 small plates. Coat the bottom of one with your honey, and coat the bottom of the other one with your Tajin seasoning. Dip your glass into the plate with the honey and twist it a couple times so the honey coats the rim all the way around. Now dip your honey rimmed glass into the plate with your Tajin seasoning. Make sure it's coated all the way around. 5. Fill your glass with your slushy watermelon elixir! 6. Roll your lime to get the juice going, and cut in half. Juice one half. 7. Add your splash of lime juice and a splash of your cucumber bitters to your glass for refreshing essence and extra flavor! I used Cucumber Bitters from The Bitter Truth. You can purchase it on Amazon here through my affiliate link! 6. Cut your other half of your lime into wedges and place one on the edge of your glass, along with a sprig of mint as garnish! Enjoy! Did you try this recipe? Show me on the gram! Tag me in your photos @BohemianMagicStudios! 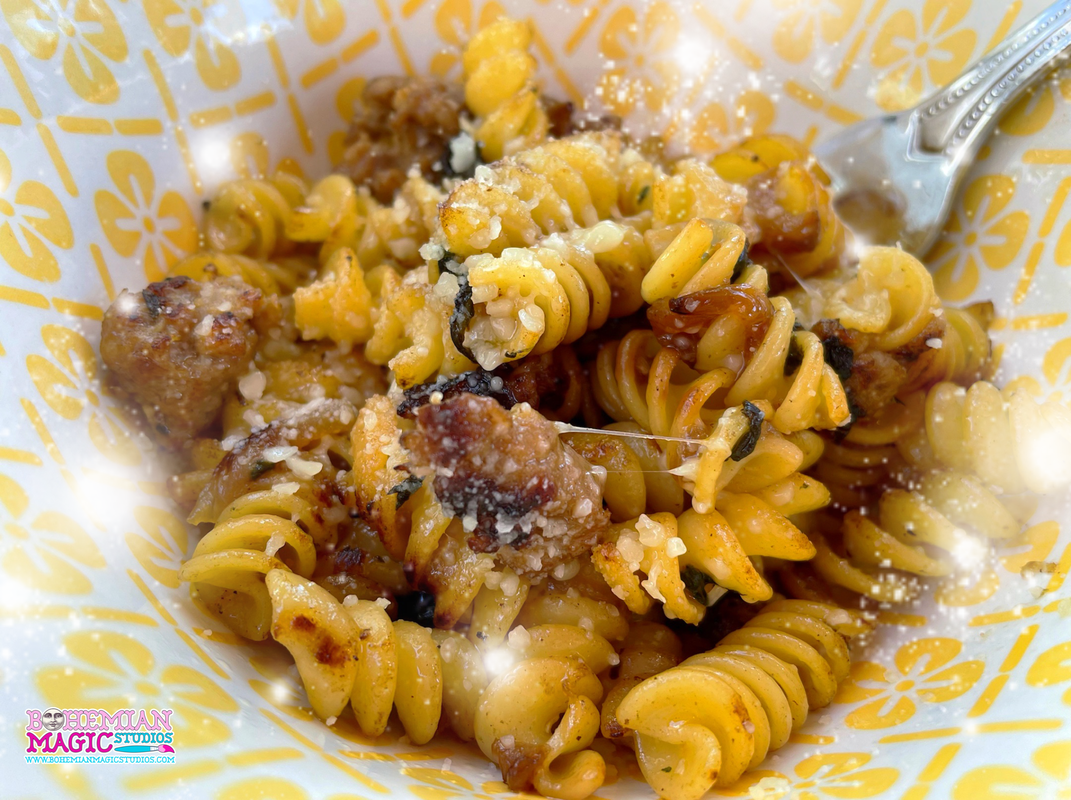 Hello Lovelies!
This recipe is from my Summerween 2022 Part 2: Carving a Jack O' Melon Vlog, which you can watch here! This recipe is one of my favorites, as all the flavors are so summery and fresh! INGREDIENTS 2 spicy italian sausage links Half an onion 2 cups of uncooked baby spinach Salt & Pepper Crushed Red Pepper 1 TBSP Olive Oil Parmesan Cheese Fresh Basil 2 cups of uncooked corkscrew pasta DIRECTIONS Veggie & Sausage Mixture 1. Remove the casings from your 2 spicy italian sausage links and set aside. 2. Chop half an onion and set to the site. 3. Coat a frying pan or skillet with your olive oil and place on medium to high heat. 4. After your pan is nice and hot, add your onions and saute until they become translucent. 5. Add your raw baby spinach and saute with onion until your spinach cooks down. Feel free to add as much spinach as desired, because it does cook down quite a bit, so it is hard to tell how much spinach you'll actually have once it is cooked down. 6. Start breaking apart and ground your sausage into the veggie mixture in the pan. Cook sausage until browned. 7. Add more spinach if desired. 8. Salt & Pepper to taste, and add a dash or crushed red pepper flakes. 9. Turn the heat off, and put a lit on it while you cook your pasta. Cooking Your Pasta 1. Fill a pot with water add 1 Tbsp of salt and place on high heat until your water comes to a boil. 2. Add your 2 cups of uncooked corkscrew pasta and keep stirring for the next 1 -2 minutes until the starches start to release in the water. You want to stir your pasta as soon as you put it in the water to prevent sticking. Once the starches release, it will no longer stick together. 3. Cook for about 10 minutes, and taste it. I like to cook it al dente which gives it a nice bite. 4. Time to strain! Do not rinse! Let's keep all of that yummy starchy goodness in the pasta! It adds more flavor! 5. Add your strained pasta to your pan with your sausage and veggies, and stir to combine thoroughly. 6. Serve your pasta to each bowl, top with grated parmesan cheese and a sprig of fresh basil! Bon Appetite! Did you try this recipe? Show me on the gram! Tag me in your photos @BohemianMagicStudios on Instagram! 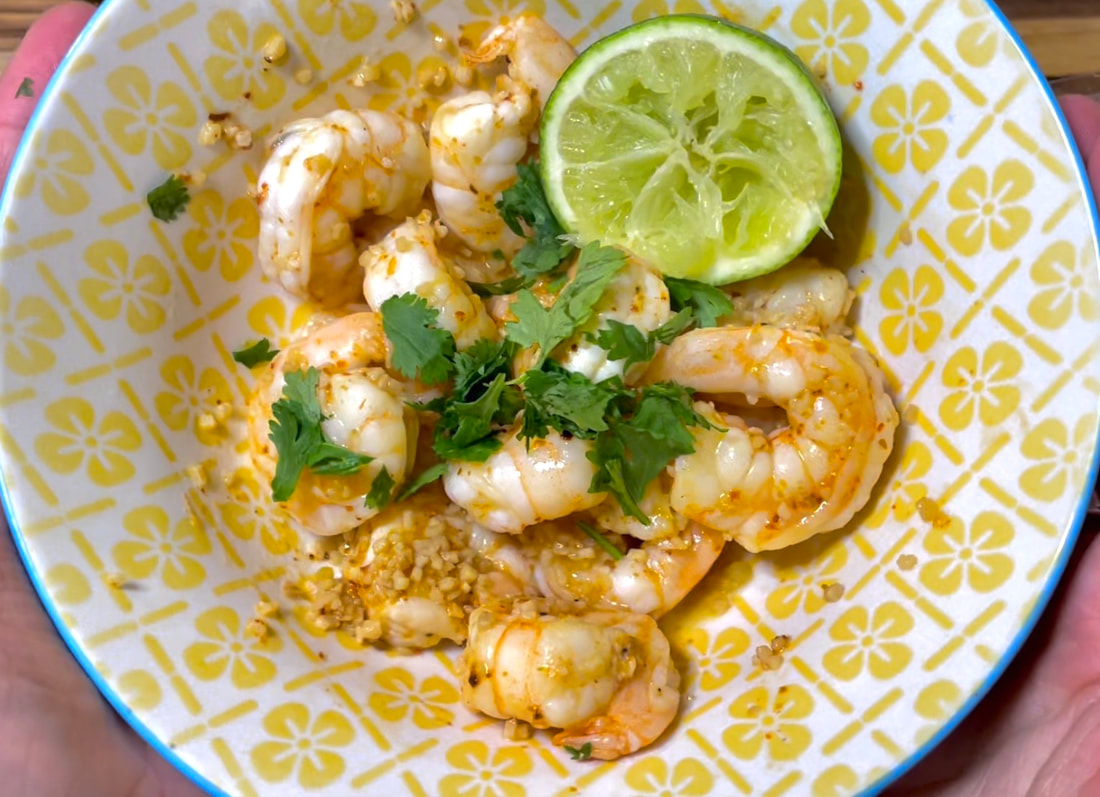 You can watch me make these in my Summerween 2022 Part 1 Video HERE:
For this recipe you will need Ingredients 5-7 shrimp per person 1 Lime Tajin Seasoning Minced Garlic Olive Oil Salt & Pepper Fresh Cilantro DIRECTIONS 1. Defrost your shrimp in lukewarm water for about 15-20 minutes. Drain your shrimp, and dab off excess water with a paper towel. Put a paper towel down on your counter and place your shrimp on top of the towel. Take another paper towel and dab the tops. Add to your mixing bowl. 2. Season your shrimp with your salt, pepper, and Tajin. 3. Prep your lime, by rolling it to loosen the juices. Cut in half. 4. Oil your pan and turn your burner on medium to high heat. 5. Once your pan is hot, add your shrimp and toss them. Add your minced garlic, and toss again for another 30 seconds to a minute until they just turn completely pink. 6. Take them off the heat immediately and add to your serving bowl. 7. Squeeze half a lime's juice onto your shrimp and toss. Top with some chopped cilantro. Add your other half a lime to your bowl as garnish. That is the recipe for the filling. You can pair this with any taco accoutrements! You can use either flour or corn tortillas, or crunchy taco shells. Or cut the shrimp into smaller bits and sprinkle over nachos and eat as a nacho bowl. Some delicious things to add are yellow rice, fresh salsa, refried beans, crema, guacamole, olives, tomatoes, lettuce, hot sauce, sour cream, etc. The possibilities are endless! Get creative! These are a fun addition to any summertime meal, or summerween celebration! :-) Enjoy! JUSTINA xoxo Hello Loves! As promised, here is the written recipe for this MAGICKAL Strawberry Hibiscus Rose Moon Milk Elixir in celebration of the Strawberry Moon of June! Feel free to gather your ingredients, and follow along with the video above for some magickal inspiration! Hibiscus is used for its magickal properties of divination & love. It is often used in love/self-love spells. It is known to be a powerful aphrodisiac and useful in spells & rituals to increase lust. Ruled by the element of water, planet/goddess Venus, zodiac Scorpio, gender Feminine. Rose is also great to use in spells for love/self-love , but also commonly used to increase luck & overall happiness and positive energy. Ruled by the element of water, planet/goddess Venus, zodiac Taurus, and gender Feminine. Strawberry is ruled by the element of water, planet Venus, Goddess Freya, Zodiac Scorpio, Gender Feminine. It's magickal properties include problem solving, overcoming boundaries through love, luck & fertility. Strawberries are most associated with the Sacral chakra, the chakra of sensuality and creativity. It is the energy center of pleasure and enjoyment of life. STRAWBERRY HIBISCUS ROSE MOON MILK RECIPE INGREDIENTS TO SERVE 1 1/2 of Freshly Washed and Cut Strawberries 1 Cup of Coconut Milk 1 Tsp Ground Ginger 1 TBSP Brown Sugar Crushed Pink Himalayan Sea Salt (ground to taste) 3-4 Organic Dried Hibiscus Petals A handful Organic Rose Petals 1-2 Teaspoons of Grated Fresh Ginger 1-2 Drops DoTerra Cardamom Essential Oil (click to purchase from my retail page) 1/2 Cup Almond Milk 1-2 Whole Strawberries to Garnish TOOLS & UTENSILS A blender or magic bullet A Knife/Cutting Board Measuring Cups Mortar & Pestle A small saucepan Spoon A teacup & Saucer DIRECTIONS 1. Wash, hull & cut a 1/2 cup of fresh strawberries into quarters. 2. In a blender or magic bullet, add your strawberries along with 1 cup coconut milk, 1 tsp ground ginger, 1 tbsp sugar, a couple grinds of pink Himalayan Sea Salt. Blend it all together. 3. In your mortar & pestle, grind up 3-4 organic dried hibiscus petals and a handful of organic rose petals. You can even rip apart the rose petals more, to bring out the oils and make your mixture more fragrant and flavorful. 4. Get out your saucepan, and add your blended strawberry/coconut milk mixture. 5. Also to your saucepan, add some fresh ground ginger root, 1-2 drops of DoTerra Cardamom Essential Oil and STIR! 6. Set your saucepan on the stove, and place on low heat. Stir it constantly until it comes to a simmer. 7. Add 1/2 cup almond milk 8. Once it starts to froth and bubble, it's done! Turn the heat off, and pour your heated mixture into your tea cup. 9. Sprinkle your dried hibiscus/rose petal garnish on top of your moon milk latte, in the shape of a crescent moon. 10. Add another sprinkle of crushed Himalayan Sea Salt to taste. and garnish your saucer with a whole fresh strawberry... AND ENJOY! 
 HELLO WITCHY POOS AND HAPPY STRAWBERRY MOON!
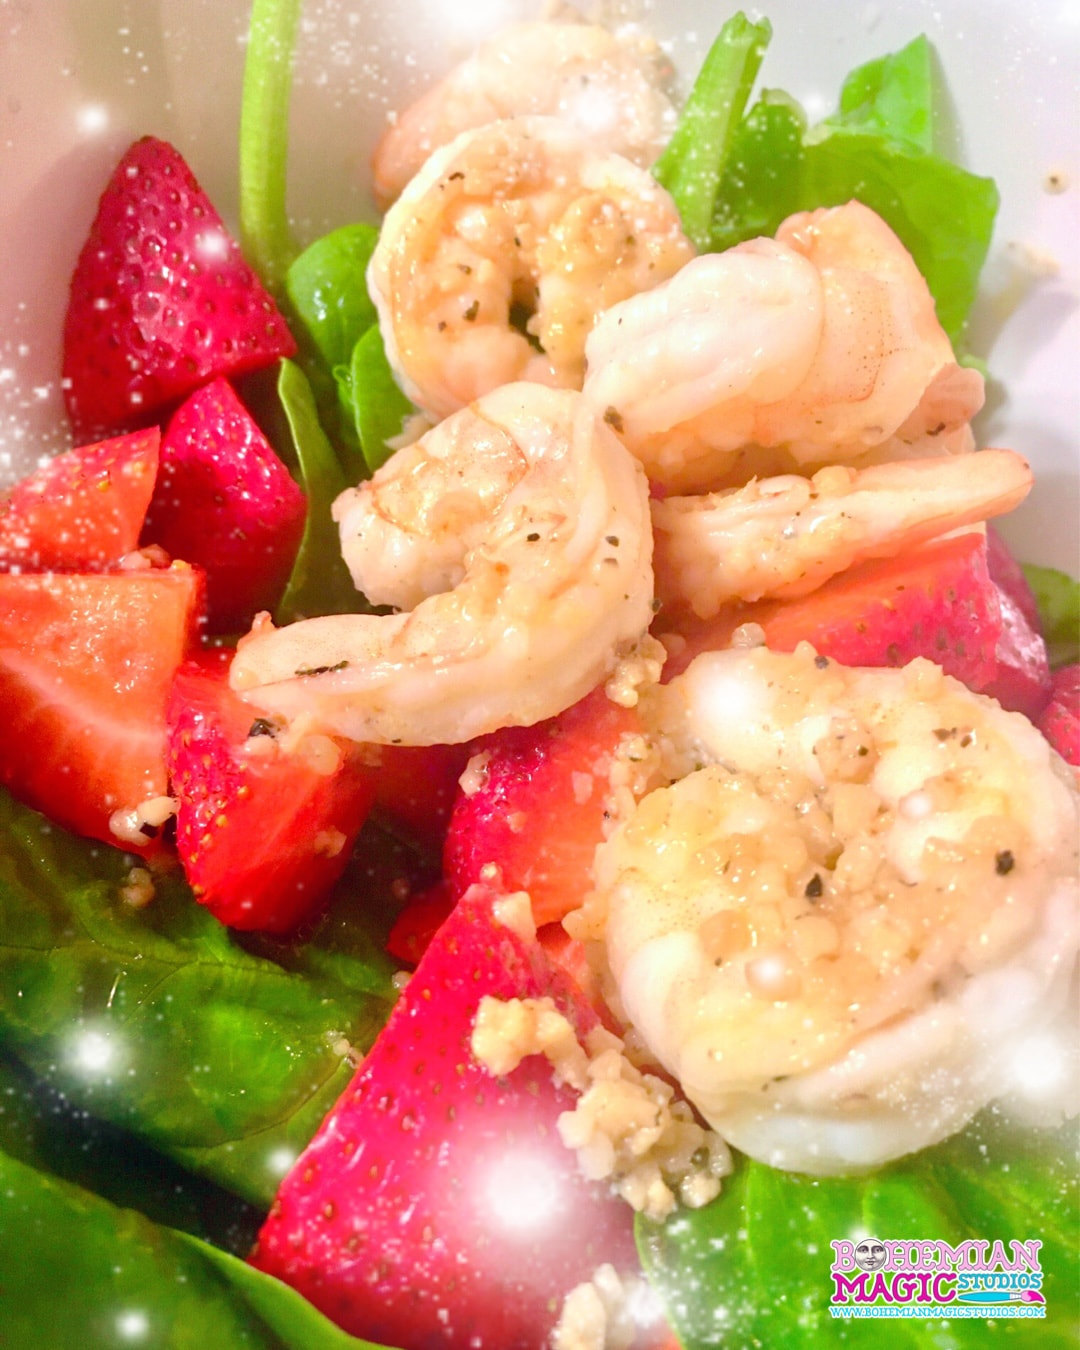
A week ago, I polled you guys to see if you wanted my Strawberry Moon Shrimp Salad recipe, and some of you did, so I thought I would share it with you! I have recently started cleaning up my diet, so eating fresh fruits and greens, mixed with some protein, is a GREAT way to satisfy your hunger during the hot summer months. When it's hot out, I don't exactly crave huge and heavy meals, and whether or not the same is for you, you can still add this as an addition or side dish to any meal. This is SUPER simple! This takes maybe 10-15 minutes to make and measurements are for 1 person, so if you are serving more, adjust accordingly! In a bowl, Defrost/clean about 8 shrimp In a separate bowl, combine the following:
In a frying pan, add the following
Once your shrimp are defrosted, start up the heat on your frying pan, and saute your shrimp in the garlic and olive oil. As the shrimp starts turning pink, add a pinch of pink himalayan sea salt and some crushed black pepper. The excess water from the shrimp, combined with the olive oil and garlic, should make a nice sauce. Now, you don't want to cook your shrimp for too long, or it will get leathery! They're usually good to go, a few seconds after turning completely pink. Now take all your contents from the pan and add to your salad bowl with your spinach/strawberries. Now cut a lemon, and using half, squirt the juice over your whole salad, and mix altogether! Add another dash of sea salt & crushed black pepper to taste. VIOLA! A nice and simple, light and fresh summer salad! This is great for a quick and healthy summer lunch or light dinner. ENJOY! HAPPY STRAWBERRY MOON & MIDSUMMER! GET MORE MAGICKAL RECIPES FOR THE SABBATS & SEASON ON MY FOOD BLOG www.BohemianMagicStudios.com
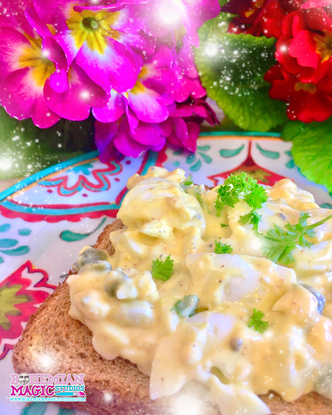
So while I can't take FULL credit for this one, I thought I would share it, as it has become one of my favorite go to's, when I'm looking for a quick lunch or even just a filling snack to hold me over while waiting for a bigger meal. If you would like to see a live action video of me making this recipe in my magickal kitchen, please consider becoming a Patron, by signing up for my $5 Bonus Video Tier! On this tier, I usually upload exclusive spells, vlogs, blooper reels, behind the scenes, and quick recipes that don't end up making the cut on my main YouTube channel!  SPRINGTIME EGG SALAD RECIPE FOR OSTARA OR EASTERCOOKING TIME & SERVING SIZE EGG BOILING TIME: 15 MINUTES COOLING TIME: 2 MINUTES MIXING TIME: 5 MINUTES FULL MEAL COOK TIME: Approx. 20-25 minutes SERVING SIZE: 1 egg for every slice of bread you plan on using INGREDIENTS & TOOLS 1-2 Raw Eggs A pot of water A bowl of ice water 1/4 cup Mayonnaise (may substitute with hummus) 1 Tsp Golden brown mustard 1 TBSP of capers (Optional) Pinch of sea salt Dash of crushed black pepper Sprinkle of fresh garden parsley 1 -2 pieces of bread, toasted to your liking DIRECTIONS 1. Fill your pot with water and place in your raw eggs 2. Bring your water to a boil, and then set your timer for 10 minutes. 3. As your eggs are boiling, fill a bowl (big enough to fit all your eggs) with ice and water. Place this bowl in your sink for now. 4. Once 10 minutes is up, remove your eggs from the boiling water, and place right into your ice water. Give them an ice water bath for 2 minutes. This shocks the eggs and stops the cooking process right away. It also cools them quickly and helps ease the shell removal process. 5. After 2 minutes, remove your eggs from your ice water bath and tap them lightly on a hard surface . Then gently roll the egg to loosen the shells. They should start to come off pretty easily. You can discard you eggshells in the garbage, but they are also great to save and crush into a powder and make Cascarilla, which is great for spring cleaning rituals. You can also use them as a plant food or compost as egg shells are packed with amazing nutrients which are GREAT for your houseplants and your outdoor gardens! 6. After removing the shells, just run your now hardboiled eggs under some water to get rid of any excess shells hanging on to their surface. 7. Place them in a bowl, and begin to cut them into small pieces. 8. Add your mayonnaise, golden brown mustard, capers (optional), a pinch of sea salt, a dash of crushed black pepper, and a sprinkle of your garden parsley, to taste. 9. Mix that all up and set aside, while you toast your bread! 10. Add a heaping spoonful to your bread, you can eat this open faced and add a bit more sprinkle of sea salt and fresh parsley on top to garnish. Or you can eat this as a closed sandwich, or even on a bagel, english muffin, or even crackers for a lighter snack! That is pretty much it you guys! Very simple! I hope you enjoyed this quick spring time recipe and are all having a lovely time celebrating the Spring season, whether you are celebrating the vernal equinox (Ostara) or Easter if you follow the traditions of Christianity, or even just celebrate Easter commercially.
Til next time! Justina xoxo 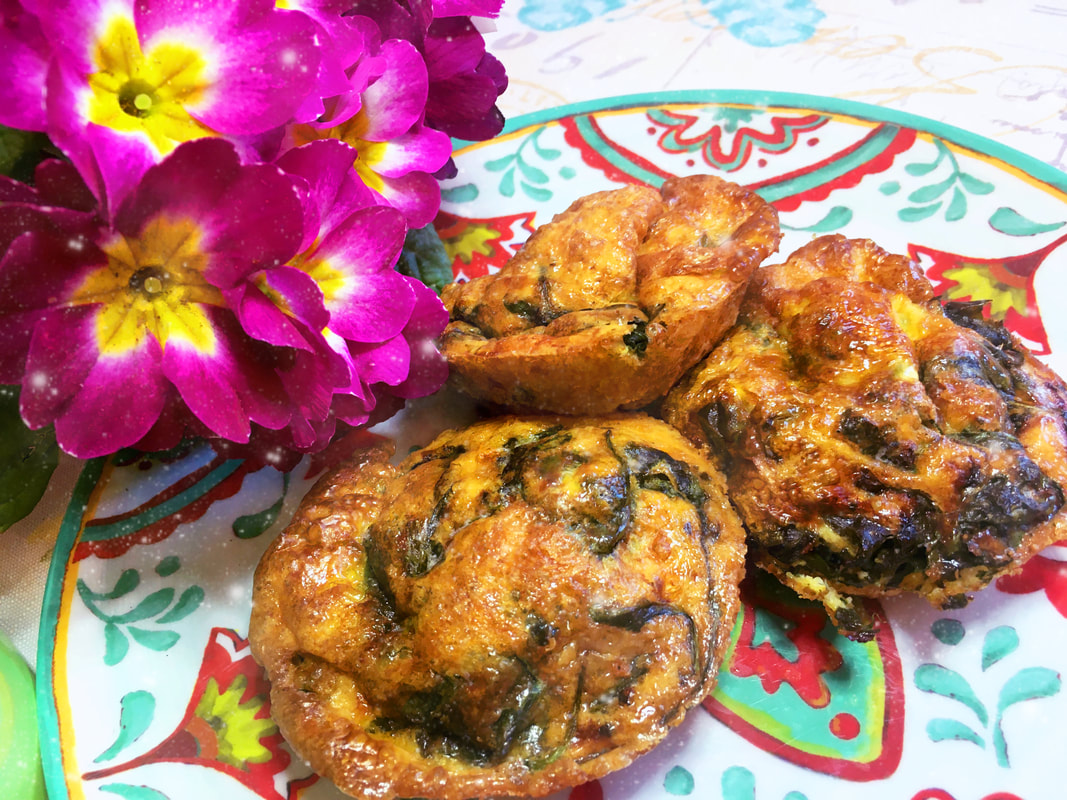 HELLO WITCHLINGS! I come to you with another QUICK AND EASY magickal recipe from the "QUICK WITCH KITCHEN", cuz sometimes when you're knee deep in Apothecary Illustrations, ain't nobody got time to be stopping to make a gourmet meal! Gotta keep the productivity going, while still getting on that quick protein. This dish is just that! Quick, easy, nutritious, and great for the busy witch! These are also an EGG-cellent :-P way to celebrate Ostara, even if you can't REALLY celebrate the way you want to. Incorporating egg dishes into your sabbat celebrations, or even using them to decorate your altar spaces are great ways to honor the sabbat! So without further A'dieu, I bring to you my quick and easy recipe for these adorable mini spinach quiche snacks for you to enjoy this Spring! INGREDIENTS1-2 Eggs 2 Tablespoons of Cheese Blend of Your Choice 1/4 cup of Raw Baby Spinach 1 Tsp of Minced Garlic 1 TBSP Olive Oil 1-2 TBSP of Butter UTENSILSA small bowl to mix your eggs A fork Frying pan Spatula or wooden spoon 2-3 Mini Pie Tins Toaster oven Oven Pan/Baking sheet Measuring Spoons DIRECTIONS1. Crack your eggs into your bowl, and use your fork to scramble them up. 2. Add your salt & crushed black pepper, and your cheese blend of choice to your egg mixture. Set that aside for now. 3. Coat your frying pan with olive oil and add your minced garlic. Heat it up until it starts simmering/bubbling. 4. Add your baby spinach to the pan, and sauté until it is cooked all the way through. Salt and pepper to taste. 5. Get out your mini tins and grease them with your butter. 6. Add some of your cooked baby spinach to your tins, and top each with your egg mixture. 7. Place on your baking sheet and pop into your toaster oven at 400 Degrees for about 15 minutes or until the tops start looking a bit browned. Don't let cook for too long after that point, or they will burn easily. 8. Take them out, let them cool before removing them from their tins. 9. Plate up, serve and enjoy! If you tried this recipe, I'd love to see your creations! Take a photo and tag me on Instagram @BohemianMagicStudios!
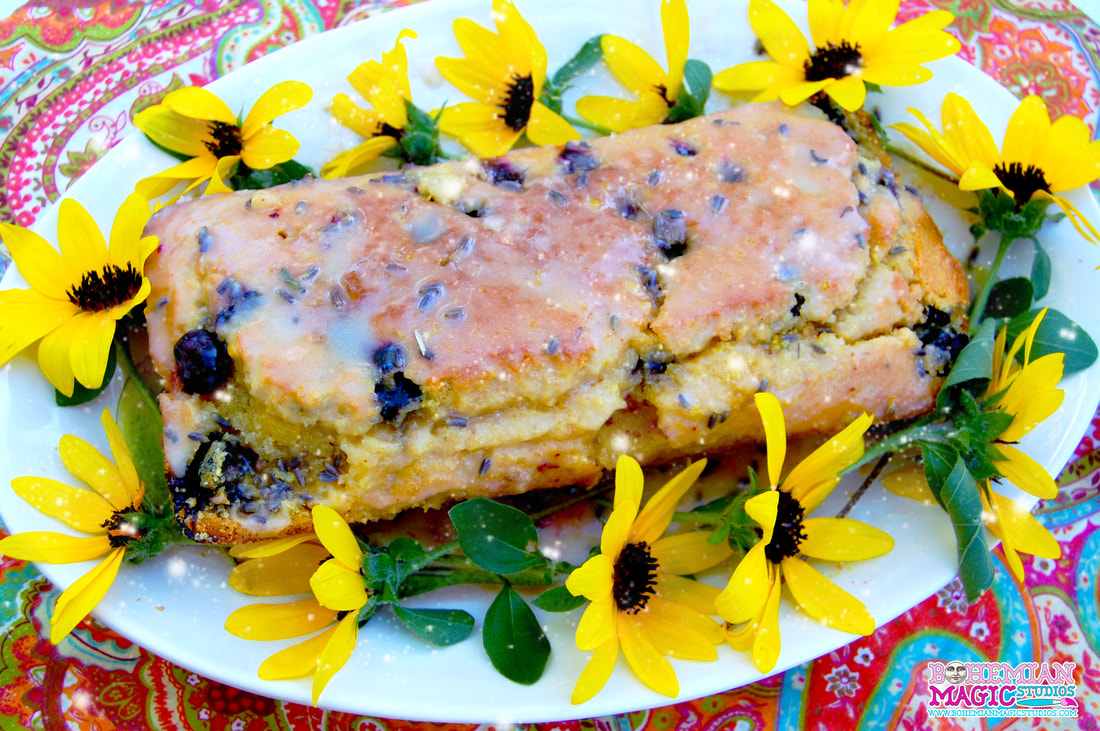 Hello Magickal Beings! Happy First Harvest, and Blessed Lammas/Lughnasadh to all! I am always a little sad when Lammas rolls around because it means the almost end of summer. However, I must admit, I always get excited for all the beauty and coziness that comes with Fall: turning inward, and embracing introspection once again. But summer is not over yet! First we must celebrate this beautiful sabbat in honor of our first harvest. This sabbat is all about GRATITUDE, ABUNDANCE, FERTILITY, STRENGTH, MANIFESTATION, just to name a few key terms! It's the time of year to harvest all the fruits of our hard labor since the last frost this past winter. Those first seeds we planted come the spring are now growing wild with its ripened fruits on the vine. We have also just celebrated the Full Blueberry Moon, which is the best time to pick our ripened blueberries off the vine, and put them to use in some yummy cakes and pies! Some other notable representations of First Harvest are Corn, Lavender, Wheat, Lemons, and Breads. I thought all of these flavors would be great together in one recipe, to celebrate the season and sabbat! So below I will be showing you how to make this Lammas Blueberry Cornbread with a Lemon Lavender Glaze! WATCH MY YOUTUBE VIDEO HERE!BLUEBERRY CORNBREAD RECIPE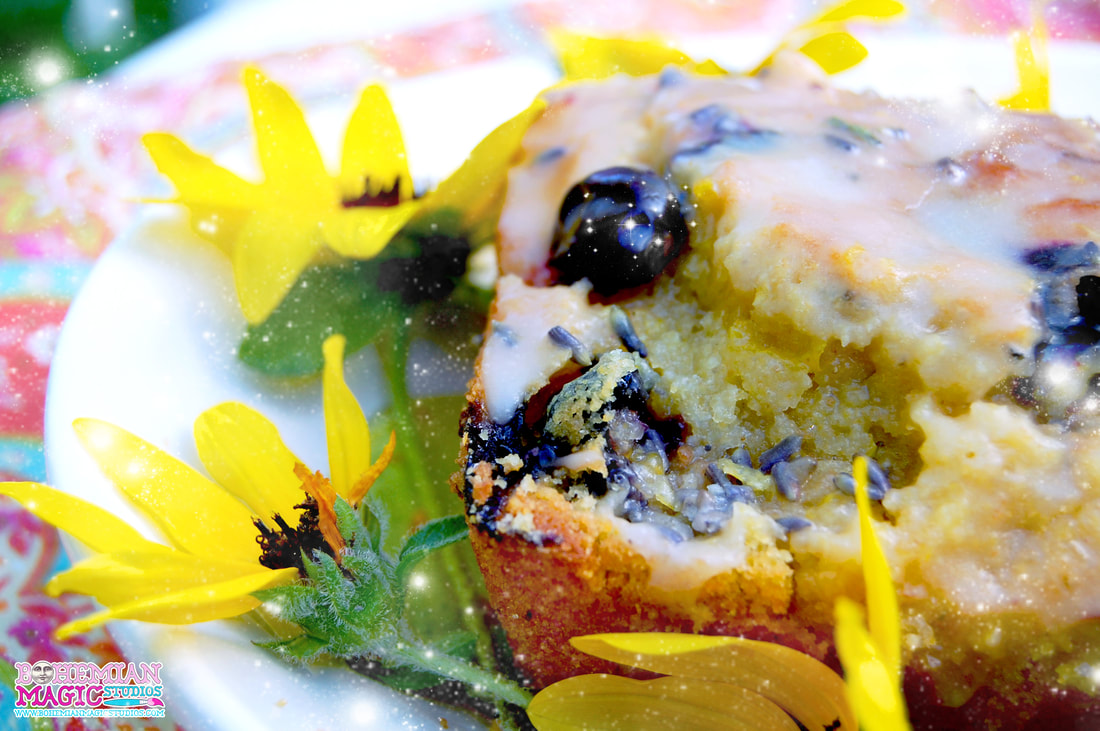 BLUEBERRY CORNBREAD INGREDIENTSDry Ingredients
Wet Ingredients
Additives
CORNBREAD DIRECTIONS
 LEMON LAVENDER GLAZEINGREDIENTS
DIRECTIONS
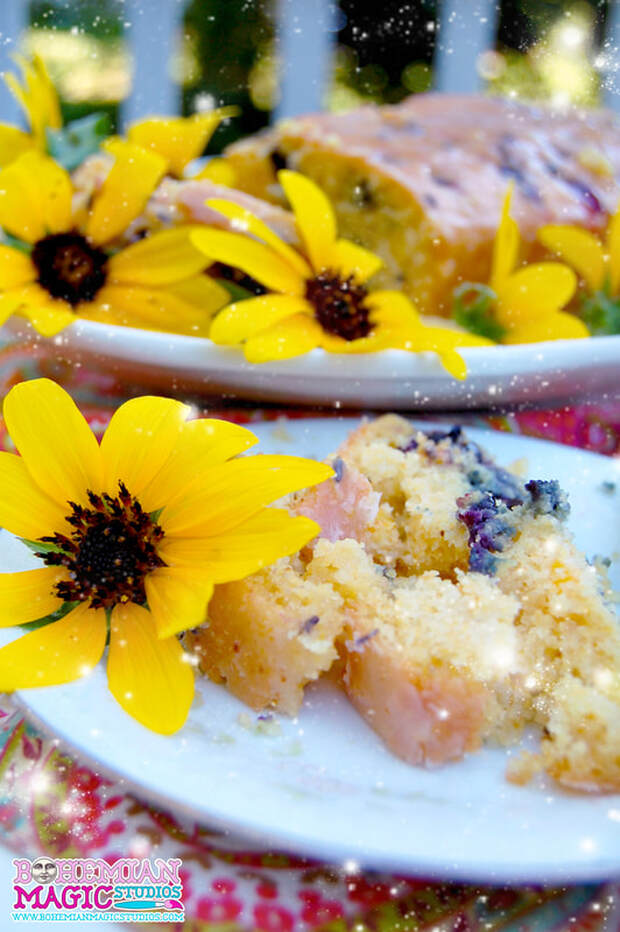 EXTRA MAGICKAL TIDBITS!Place your cornbread on a beautiful platter and adorn with fresh cut flowers. Sunflowers are a big symbol around this time. I used these cute helianthus! Just check for bugs before putting near your food! You can use this bread platter as an offering on your Lammas altar. Or you can cut a little piece and leave as a little fairy offering outside in your garden. You can put it in a little seashell or acorn cap! Fairies LOVE their sweet cakes and breads! Thank you so much for using my recipe! If you tried this, I would love to see your photos! Tag me on INSTAGRAM @BOHEMIANMAGICSTUDIOS! 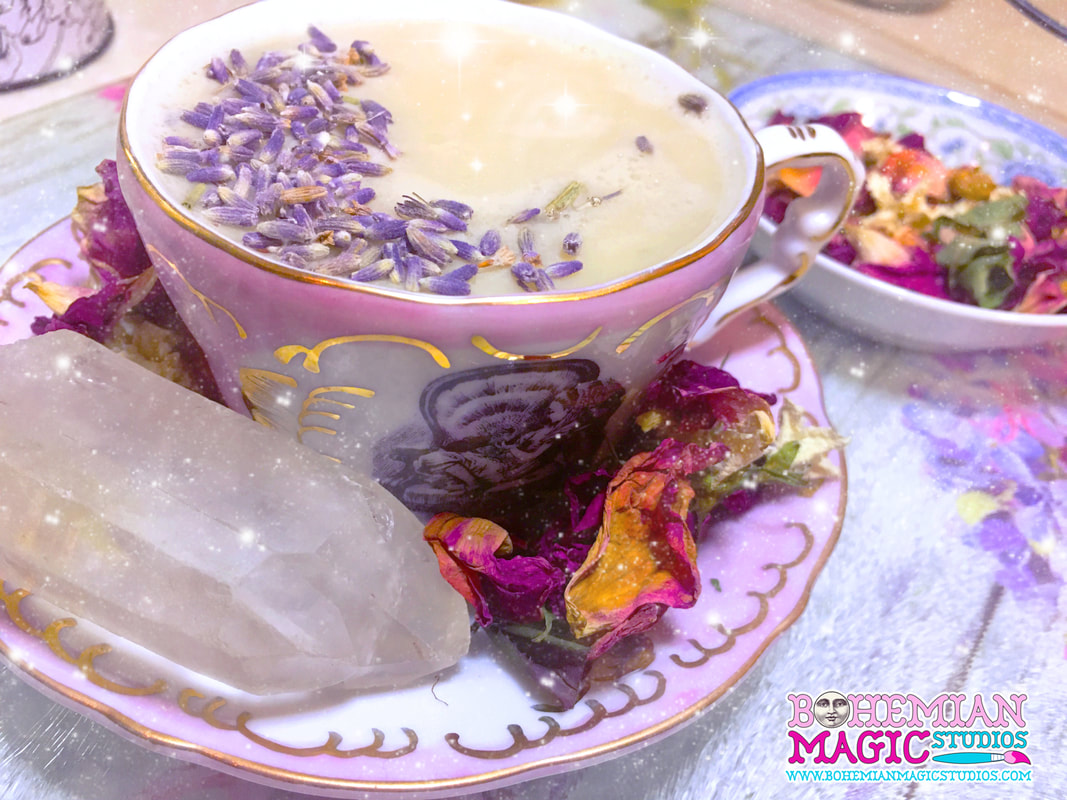 Hello Magickal Beings! I had done this recipe as a prep to relax me before my FULL MOON TEA PARTY in celebration of the FULL BUCK MOON this past July. I host these virtual tea parties in my private Facebook community for my Patreon Patrons, every month! Please see the below video for a visual demonstration on how I prepare this warming bedtime elixir! However, if you would like the text recipe, please scroll below! INGREDIENTS & TOOLS
DIRECTIONS
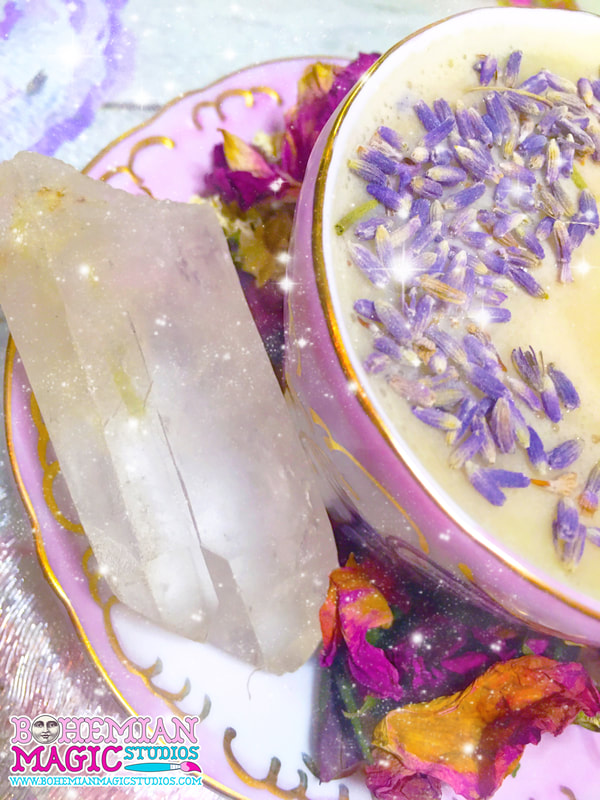 MAGICKAL WORKINGS*During Step 7 - As you are stirring your magickal elixir concoction and are focusing your intention, you may say a few words to charge your mixture with your intent. You can say: "Oh Magickal Elixir, I fill you with the soft lavender light of the heavenly realm to aid me in my divinational dream work and bless me with a restful night's sleep. Tomorrow I will awake rested, and abundant with messages from my ancestors, spirit guides, and divine forces who help guide me on my path. So Mote it Be! " As you drink your Moon Milk Elixir, envision it filling you with a soft purple light, infusing your body with the ability to dream vividly and interpret them. Don't forget to record these dreams into your dream journal or book of shadows! 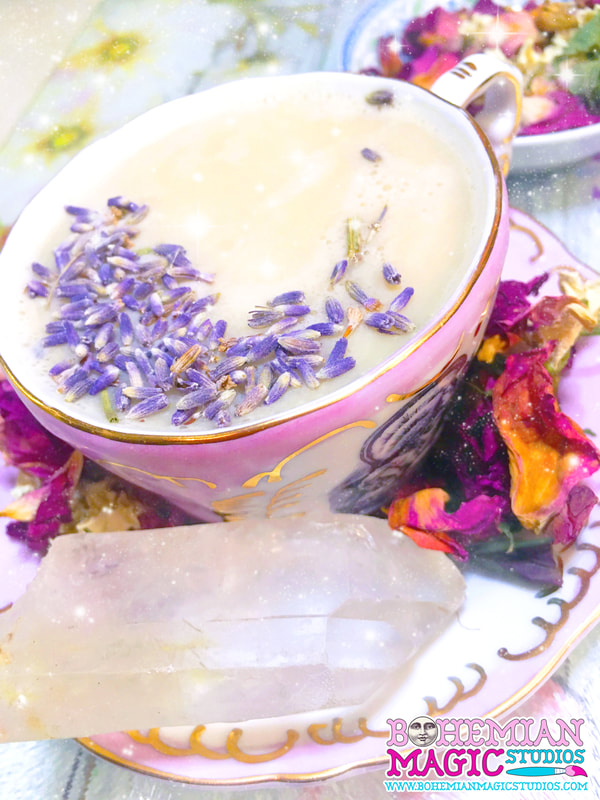 If you try this recipe, be sure to tag me in your photos on Instagram so I can see your beautiful elixirs! Tag me @BohemianMagicStudios! |
Enjoy My Recipes?
Witchin' KitchenI consider myself quite the kitchen witch! I love enchanting my food with magickal herbs, spices, and incantations! WATCH MY WITCHIN' KITCHEN VIDEO PLAYLIST ON YOUTUBE!Archives
September 2022
Categories
All
|

 RSS Feed
