|
Hello Loves!
In today's video, I will show you how I put together a fairy garden using just a few affordable items along with a Wild Pixy Fairy Garden Kit that my husband got for me this past Valentine's Day. I'm so excited the weather is getting a lot warmer, so now I can get out into the garden and put this together for you all! Here are the materials you will need: - A pot or container with a drainage hole (I have found that Terra Cotta pots from your local hardware store do the job great, and are the cheapest option. I found my large to medium sized one for around $16, and I COULD even paint it down the line if I ever wanted to. *The Fairy house and rocks supplied in your Wild Pixy Fairy Garden kits, ARE solar powered, so keep in mind that your garden should be placed in full sun in order to charge your fairy garden pieces...therefore your plants SHOULD be able to tolerate full sun as well. The full sun plants I used are the following: - Blue Diamond Delphiniums -Purslane -Coreopsis -Superbells Holycow Calibrachoas THIS VIDEO IS NOT SPONSORED. This fairy garden was a gift, and I felt inspired to bring awareness to a wonderful small business, doing amazing and charitable things for children all around the globe! Wild Pixy spreads the magic by helping to keep other little people safe. 5% of net profit donated to Thorn! PURCHASE THE WILD PIXY FAIRY GARDEN KIT ON AMAZON!
DISCLAIMER: The video was not sponsored, however I am an Amazon Affiliate, so I will receive a small commission if you purchase this product from the link below. Thank you for supporting my small business :-)
Music:
"Fairy Garden" by Savannah Philyaw "Night Garden" by Maria Christine Brehmer SUPPORT THESE VIDEOS ON PATREON! Thank you to all of my Patrons for your support! It means the world to me! Megan Baker Dee Carubia Michelle Ziemann Rachel Carter
0 Comments
@Bohemian Magic Studios Presents
The Making of My Magickal Apothecary Cabinet Hello Magickal Beings!! Today I want to take you behind the scenes of a very special project that I had been working on for the past year or so. I found a magickal wooden armoire for FREE on the side of the road and I just KNEW I had to have it! I just had to find a way to get it home! Once I managed to get it home with the help of my parents, it stayed on the front porch collecting dust for the better part of the year, while we settled into our new home and took care of more important projects. Once the summer of 2019 rolled around, I was feeling like I was ready to take this on! I just want to give my mom and hubbie a huge thanks for helping wipe it down, sand it, prime it, spray paint it, find the hardware, add the hardware, and move it into it's current home in my little Bohemian Magic Studios HQ (which is just a small bedroom where I will be conducting my BMS Business)! This project should have taken maybe a week or so, but I really took my time with it because life just gets in the way sometimes! The whole project from start to finish, once I got started, spanned from the end of July, to the end of September... so about 2 months. I'm really in love with how it came out, and I can't wait to show you all of the little treasures that I filled it with (which you can see at the end of this video) I hope you enjoy watching this magickal transformation as much as I enjoyed documenting and working through the process! If you like this video, please be sure to give it a thumbs up, comment, rate, subscribe, and most importantly hit that bell for notifications every time I upload a new video! Thank you and have a magickal day! Justina xoxo SPECIAL THANK YOU TO MEGAN BAKER - MY FIRST PATRON and Executive Producer of this video! JOIN ME ON MY CREATIVE JOURNEY AND SUPPORT MY WORK ON PATREON! Bohemian Magic Studios Presents
Part 2 - Salt Dough Mermaid Sea Ornaments (Painting) Hello My Magickal Beings!! I wanted to share a very magickal craft project with you all today because it's MERMAID SEASON! In this magickal mermaid video series, I thought it would be fun to explore the magick of the ocean and that mermaid energy I seem to feel every time July rolls around! I do not actually prepare the salt dough in this video because I have already performed the recipe for it on this channel before. It's a very simple recipe with only 3 ingredients: Salt, Flour & Water! If you'd like to view the actual recipe & process to make the dough, you can view it in my Sun Plaque for LITHA video that you watch here! To watch me bake these salt door ornaments, please check out PART 1 HERE! Also you'll need these adorable sea shape cookie cutters that I scored off amazon for about 10 bucks or so. And Great News! Amazon has restocked the 4 piece set, so you don't have to buy the Mermaid individually like I did: If you would like to get in the Mermaid Spirit, here is a super informative book that has some amazing rituals, recipes, lore, spells, divination, crafts, correspondences, invocations, prayers and meditations. Call upon sea deities and saints to amplify your spiritual practice, and try a wide array of relaxation exercises and meditative techniques. It's called Sea Magic by Sandra Kynes. After your magickal sea ornaments are baked, you can paint them just like I do in this video! The paints I used are all acrylic, except for the green glitter that I used on the mermaid's tail, which is Tempera paint. The product list is as follows - Paint: 20710 Valentine Pink (Apple Barrel, 8 oz.) Warm White (Folk Art, 8 oz.) 961 Turquoise (Folk Art, 2 oz.) Phthalocyanine Blue (Liquitex, 2 oz.) 72632 Deep Purple (Nicole's Craft Studio, 2 oz.) 653 Emerald Green (Folk Art Metallic, 2 oz.) 2480 Royal Gold (Folk Art Metallic, 2 oz.) 821 Baby Pink (Folk Art, 8 oz.) 17-3766 Green (Sargent Art Tempera Glitter Paint, 16 oz) Phthalocyanine Green (Liquitex 2 oz) Mod Podge Glue in Gloss Glitters: Doodlebug Design Sugar Coating Swimming Pool Glitter Fine Pink Glitter from Hobby Lobby (I couldn't find these exact glitters online, so I added similar ones to my Amazon List) Here is a shopping list I created on amazon, with MOST of the art products and materials that I used in today's video. For the products I used that I could not find on Amazon, I have tried to get as close as possible with the color, but in another brand. That is pretty much it! If you tried out this project, I'd LOVE to see how yours came out! Tag me in your beautiful creations on Instagram, so I can see - and I will feature you in my stories! MY INSTAGRAM HANDLE Music Featured in Today's Video: "Part of Your World" Harp Rendition by Arisa Matsuki "Under the Sea" Harp Rendition by Samantha Ballard Support her music on Patreon! Other Music all from the Youtube Creator's Library: "Rainbow Forest" by Quincas Moreira "Borderless" by Aakash Gandhi "National Express" by Dan Bodan "First Sleep" by Sir Cubworth Find me on Social Media: Comments? Questions? Suggestions? Ideas for videos? EMAIL ME!: [email protected] SIGNUP FOR MY MAILING LIST! JUSTINA XOXO Bohemian Magic Studios Presents My Magickal Mermaid Altar (Feat. Litha Rose Brucia the Mer Priestess) Hello Magickal Beings!! WELCOME back to my July Mermaid Magick Series!!! Here is the 3rd video... I wanted to share a very magickal craft project with you all today because it's MERMAID SEASON! I do not actually prepare the salt dough in this video because I have already performed the recipe for it on my channel before. If you'd like to view the actual recipe to make the dough, you can view it in my Sun Plaque for LITHA video here! It's a very simple recipe with only 3 ingredients: Salt, Flour & Water! You'll also need a clean surface to roll out your dough, and don't forget to flour it like I always do, so that it doesn't stick to it when you are rolling it out. You also don't want to mess up your shapes by prying them off the sticky surface when trying to transfer them to your baking sheet! After your magickal sea ornaments are baked, you can paint them! Please stay tuned for Part 2 of this video to watch me paint and glitter my sea ornaments! COMING UP IN MY MERMAID MAGICK SERIES: Monday July 22 - How to Make Salt Dough Sea Ornaments (Painting) SHOP THE PRODUCTS IN THIS VIDEO You'll need these adorable sea shape cookie cutters that I scored off amazon for about 10 bucks or so. And Great News! Amazon has restocked the 4 piece set, so you don't have to buy the Mermaid individually like I did! BUY SEA SHAPED COOKIE CUTTERS ON AMAZON  If you would like to get in the Mermaid Spirit, here is a super informative book that has some amazing rituals, recipes, lore, spells, divination, crafts, correspondences, invocations, prayers and meditations. Call upon sea deities and saints to amplify your spiritual practice, and try a wide array of relaxation exercises and meditative techniques. It's called Sea Magic by Sandra Kynes: BUY SEA MAGIC ON AMAZON! Music Featured in Today's Video:
"Part of Your World" Harp Rendition by Arisa Matsuki "Under the Sea" Harp Rendition by Samantha Ballard Support her music on Patreon! Other Music: Enchanted Journey by Kevin MacLeod is licensed under a Creative Commons Attribution license. Find me on Social Media: OFFICIAL SITE SIGNUP FOR MY MAILING LIST! JUSTINA XOXO
Bohemian Magic Studios Presents
How to Make Magickal Sea Salt for Your Mermaid Altar Hello Magickal Beings!! WELCOME to the second video in my July Mermaid Magick Series!!! I filmed this video and had intended to release it July of 2017, but was planning a wedding, so this fell to the back burner. I still love the content and would love to share it with you, so I just had to finish it and post for your viewing pleasure. In this video, I will show you how to make some really beautiful Magickal Sea Salt for your Mermaid Altar. The sea salt I make in this video contains crafting glitter and is for decorative purposes ONLY. If you would like to use this salt in your bath or in your beauty regimen, you can substitute the craft glitter with an edible baking glitter which you can also find at your local craft supply store in the baking section. The Essential Oils I used in my Mer-Sea Salt: Eucalyptus Ylang Ylang Whisper Blend (DoTerra) Peppermint Serenity Blend (DoTerra) If you are interested in purchasing any of the products you saw in today’s video, check out my RETAIL PAGE! If you're interested in booking a FREE one on one Essential Oil class with me, or in a doTERRA $35/year membership so you can save big bucks on your oils through wholesale pricing (25% off retail price all year long!) and even have the opportunity to make some extra income sharing these magickal oils, email me personally at: [email protected] Music Featured in Today's Video: "Part of Your World" Harp Rendition by Arisa Matsuki "Under the Sea" Harp Rendition by Samantha Ballard Support her music on Patreon! Other Music: Enchanted Journey by Kevin MacLeod is licensed under a Creative Commons Attribution license COMING UP IN MY MERMAID MAGICK SERIES: Monday July 15 - How to Make Salt Dough Sea Ornaments (Baking) Monday July 22 - How to Make Salt Dough Sea Ornaments (Painting) Find me on Social Media: OFFICIAL SITE SIGNUP FOR MY MAILING LIST! SHOP PRODUCTS IN THIS VIDEO!
DISCLAIMER: I am an Amazon affiliate, so if you purchase any of the products through the Amazon links below, I will receive a small percentage of commission. Also please be advised that not every single product I use in my videos is available on Amazon, so I will do my best to link you to other products that are very similar!
Bohemian Magic Studios Presents Simply Potpourri | Garden Rose Mint Blend Hello Lovelies!, Today I want to take you into the magickal garden where the echinacea grow wild and the roses smell sweet! Today I am cleaning up the heads of my basil, and removing the dead leaves from the mint! But don’t throw your discarded herbs away! Save them to create a lovely and fragrant garden potpourri! I have gotten a nice little offering plate going where I have been placing all of my mint and rose that have been falling off my plants/bushes throughout the season. At the end of summer when all of the petals and leaves start to fall, I will collect more and harvest them to make teas/sachets/potpourris/charm bags etc. The garden has me feeling a little extra witchy! I just LOVE the summer when all of the herbs and flowers are in bloom! At the end of the video I will also show you some other examples of other potpourris I have made, not only with stuff harvested from my garden, but also from bouquets that have been gifted to me, that eventually wither and die. Dead flowers are not to be wasted though! You can make potpourri out of them all! It’s all about unleashing your inner witch, harvesting all of the dried goods, and repurposing them into beautiful, elegant, magick! I hope you enjoyed this video and spending time with me in the garden today! Come back again soon! If you liked this video, please give me a thumbs up! Also don’t forget to COMMENT, RATE, AND SUBSCRIBE TO MY YOUTUBE CHANNEL! IG: http://instagram.com/justinasworldofficial FB: https://www.facebook.com/LaBohemeMagique TW: https://twitter.com/JustinaCreates Stay Magickal!  Join me on this episode of “Under the Crabapple Tree” and watch me make some smudge wands out of garden sage. In this episode we have a little visitor in the garden :-X
P.S. I'm NOT NAKED!! LOL I had on a tube top and didn't realize how low it was and that it looks like I'm actually outside naked, HAHAHHAHA!!! I'm so sorry :-P Please Subscribe to My Youtube Channel! Comments? Questions? Please E-mail Me! [email protected] Join me on this episode of “Under the Crabapple Tree” and watch me make some beautiful and colorful fragrant Daisy Potpourri for the Blue Moon, July 2015. Please Subscribe to my Youtube Channel! Summer is coming to an end August was so bittersweet 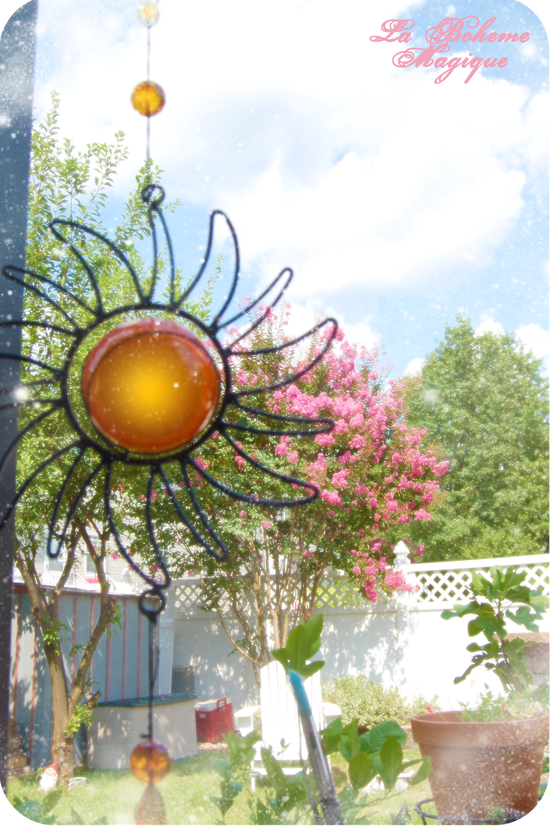 Enjoy the days, they’re dwindling down and cooling off the heat…  Come rest under a canopy of flowers smelling sweet… Come watch the faeries acrobat and fly lightly off their feet  Will you miss these summer days Of carefree relaxation?  Or do you look for Autumn Fairies with anticipation?  September brings the equinox The start of autumn harvest  The changing of the leaves beautiful reds, yellows, and oranges…  I can’t wait for FALL!! Can You?  Today I have a super easy and super YUMMY recipe for you all! I LOVE making these when I’m hungry for brunch, lunch, or even late at night. I’ll even make it before I go to bed. And it’s pretty healthy, full of veggies and protein! I also have a little surprise elixir in store for you to enjoy along side of this yummy dish! So without further adieu, I present to you this recipe… VEGGIE FRITTATA WITH GUAVA NECTAR, ORANGE JUICE, & BLUEBERRY SMOOTHIE 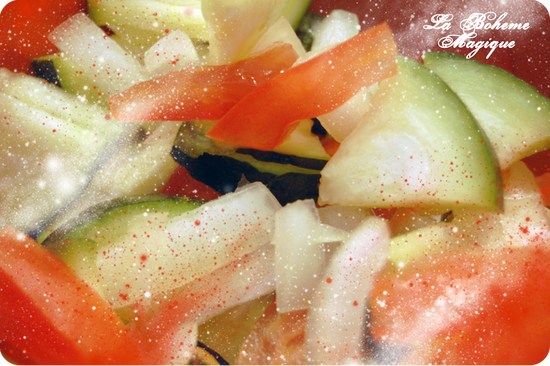 Ingredients for Frittata Half a Zucchini 1 Tomato Half a small onion A few pinches of fresh parsley Salt & Pepper Olive Oil So first you want to chop your veggies. I used Zucchini, Tomato, & Onion. They are my FAVE together, and especially with eggs. Also, be sure to give em a rinse first before chopping! 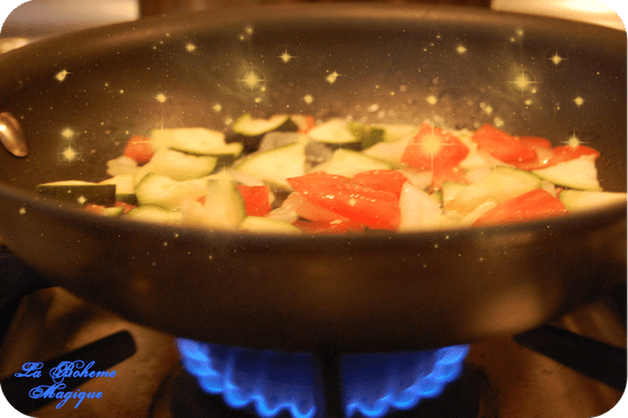 Coat your pan with some olive oil, fire up that heat and once that starts sizzling, throw in your veggies! These are going to have to cook for awhile before adding your egg. So stir those around a bit, get them coated in the olive oil, and then turn the heat down a bit, place a lid over them, and let them cook from the steam! Set it and forget it for awhile… 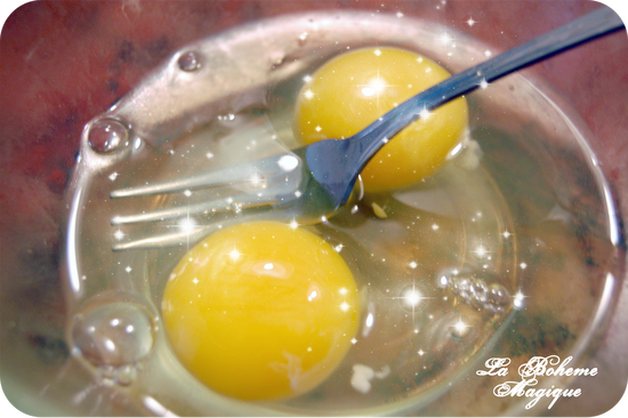 Now you want to get out 2 eggs and scramble those! Now after scrambling my eggs, I love to add salt & pepper, sometimes a little crushed red pepper for heat,AND FRESH PARSLEY! Let’s go outside to my parsley plant to pick a few sprigs! 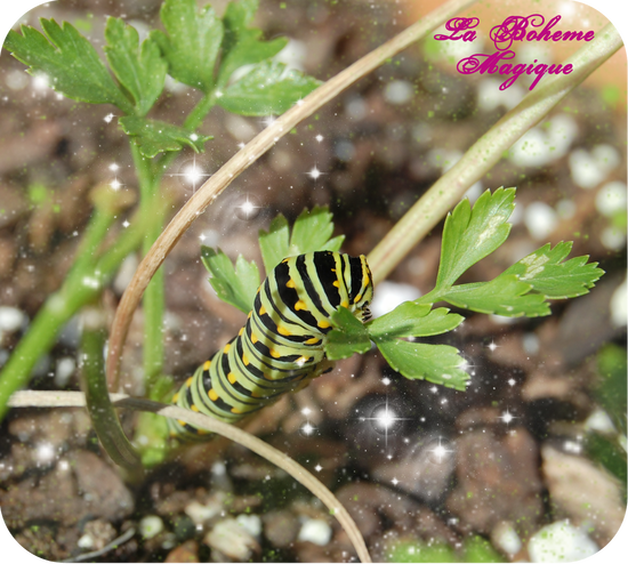 Well that was a nice little surprise! Have a nice day Mr. Grubby! Now back to our recipe. Rinse your garden parsley… 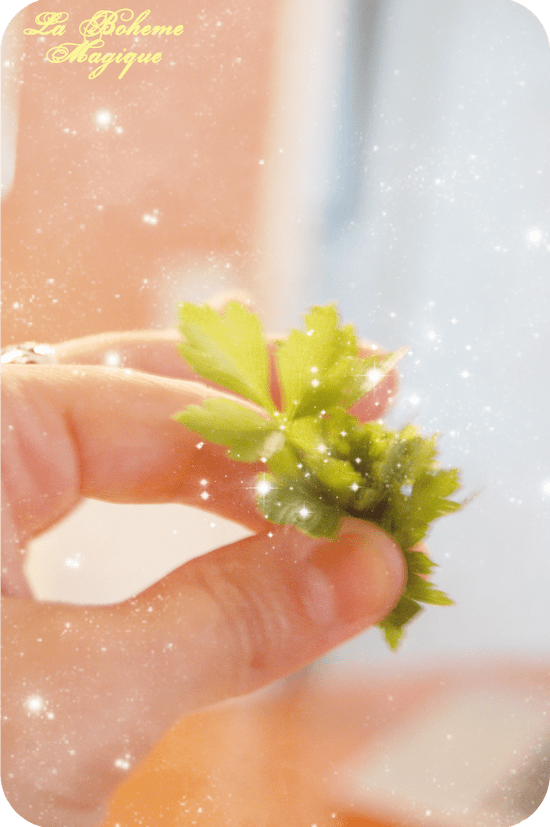 And add to your scrambled egg mixture… 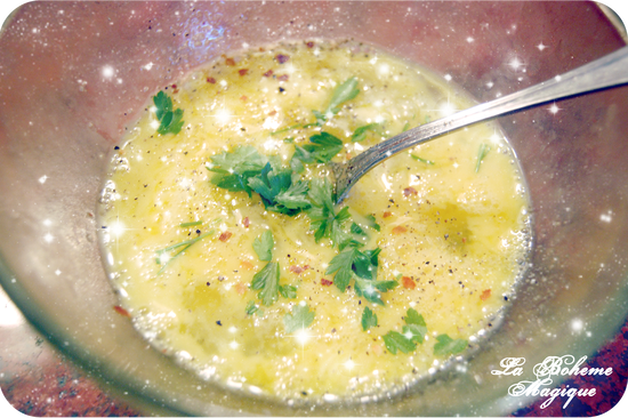 Once that’s all mixed, check on your veggies! If they are still not tender, leave them cook until they are! Once they are cooked all the way through, you can add your egg to the pan now. 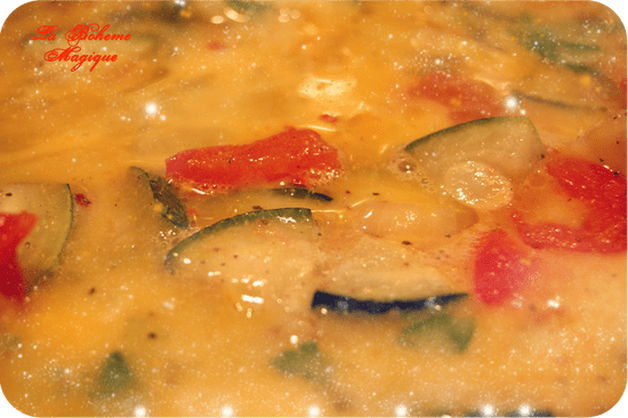 Make sure the egg covers the whole bottom of the pan, coating all of your veggies as well. Put heat on low, place a lid over it, and let your eggs cook through. While that is cooking, let’s start on our magical elixir! 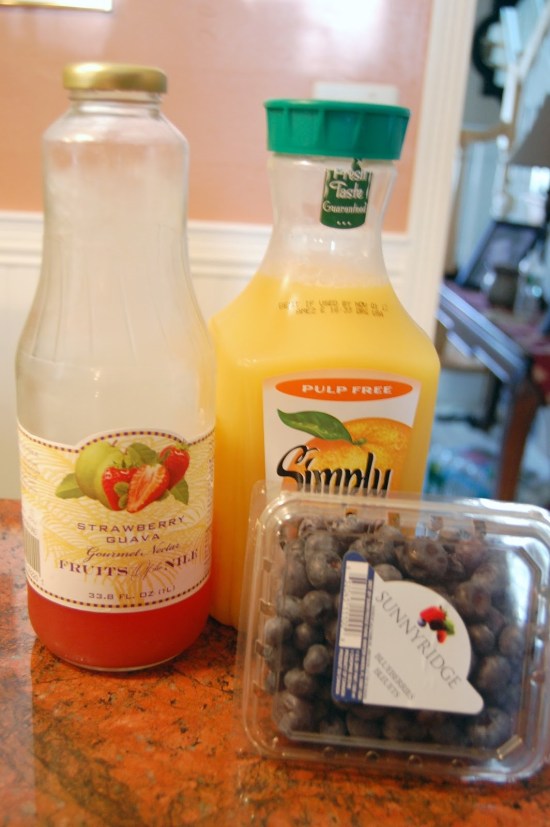 Ingredients Strawberry Guava Orange Juice Fresh Blueberries Ice Tools: Magic Bullet So for this recipe I used my handy dandy Magic Bullet. This this is AWESOME for making smoothies of any kind. I started by filling my bullet halfway with ice, then halfway with this YUMMY STRAWBERRY GUAVA to cover that ice, then the remainder of the bullet cup with the orange juice. 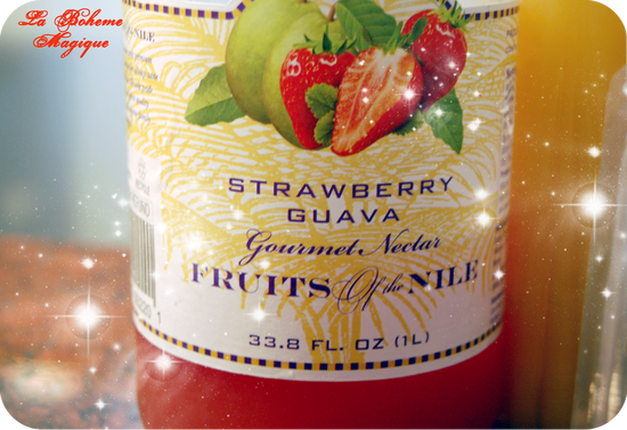 You want to blend that until there are no more huge ice chunks. Once you have a nice blended consistency, now add a handful of blueberries! By now your cup should already be pretty full of smoothie, so be careful not to make it overflow!  Put the cap back on and blend again, just so the blueberries are crushed up into the mixture now! Ok your smoothie is done now! Let’s put our bullet cup in the fridge until it is ready to serve with our Frittata! Let’s check on that now… Throughout the course of me making the smoothie, I was also checking my frittata every now and then. I kept scraping the sides around the eggs in the pan, and also poked some holes in the center with a fork to prevent air bubbles. When your eggs look like the picture below, they are done! The olive oil I used to grease the already nonstick pan ensures that my frittata will slide ride out onto and plate! 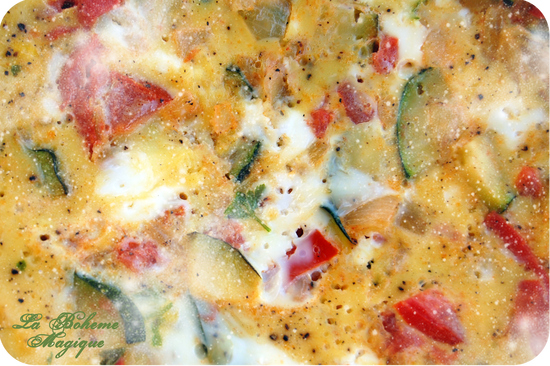 VIOLA! 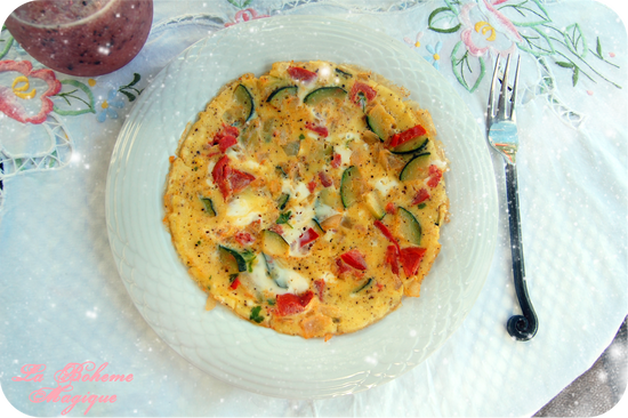 Let’s pour our magical elixir!! I garnished with some fresh mint from the garden! How refreshing does this look!?!? 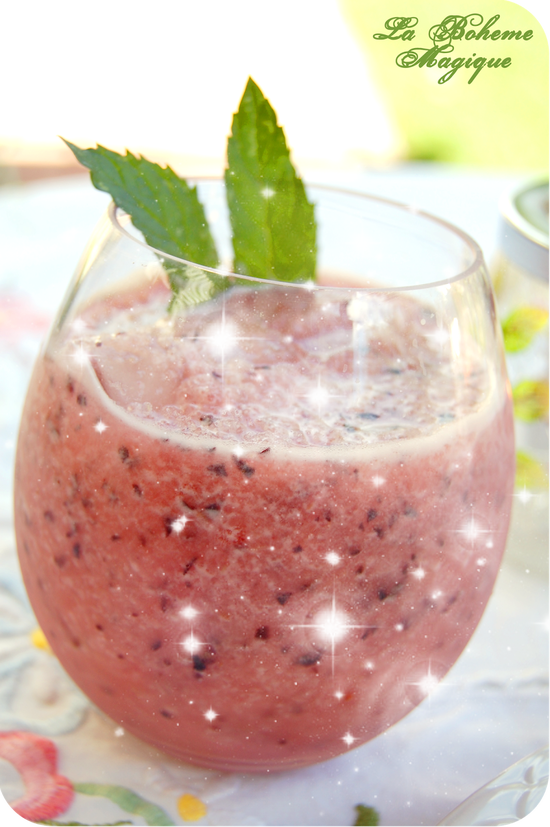 A beautiful table scape for a beautiful day! I can feel fall in the air already… The breeze on this day was so perfect, and the flowers are already starting to hide away. 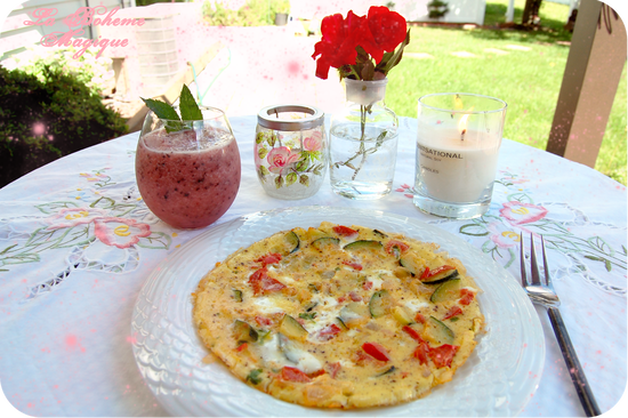 LET’S DIG IN!  This dish is so enchantingly delicious!  OOPS! I ate the WHOLE THING!!! I hope you enjoyed this recipe as much as I did! Please try it out, and let me know if you have other ideas to add to the recipe! I’d love to hear!  HAVE A MAGICKAL DAY!  |
About JustinaJustina is the creative force behind Bohemian Magic Studios. She is inspired by bright colors, nature, books, and movies. She loves cooking, arts n crafts projects, essential oils, reading the tarot and talking about astrology! SAVELANDS Join me in my mission to plant trees! Look cute and help save Mother Nature! Join me in my mission to plant trees! Look cute and help save Mother Nature!
Archives
June 2021
Categories
All
|
 RSS Feed
