|
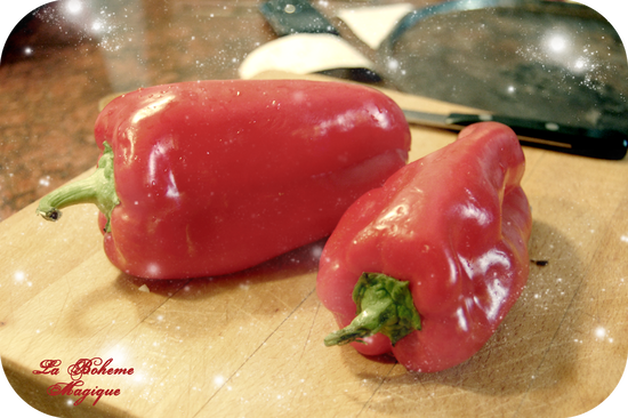
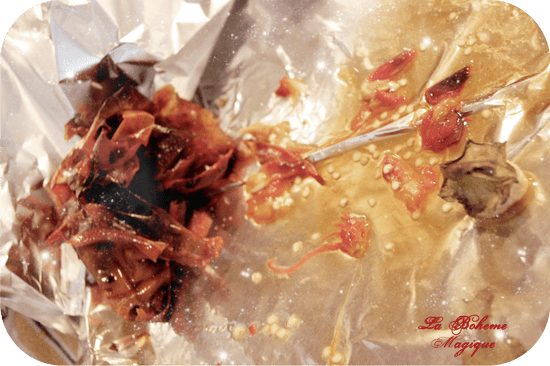
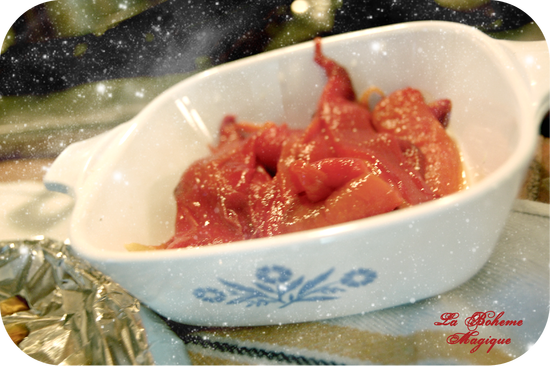
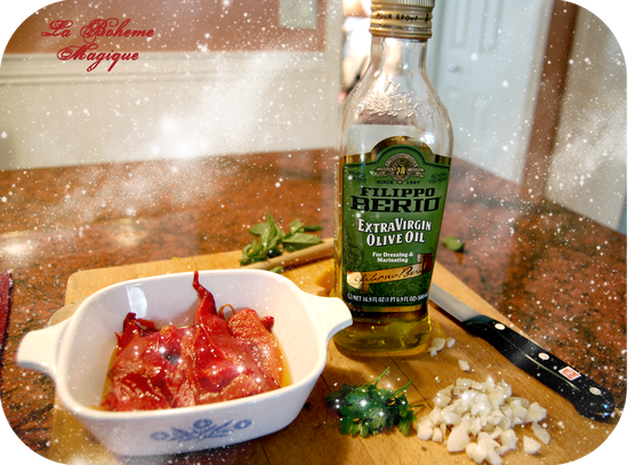
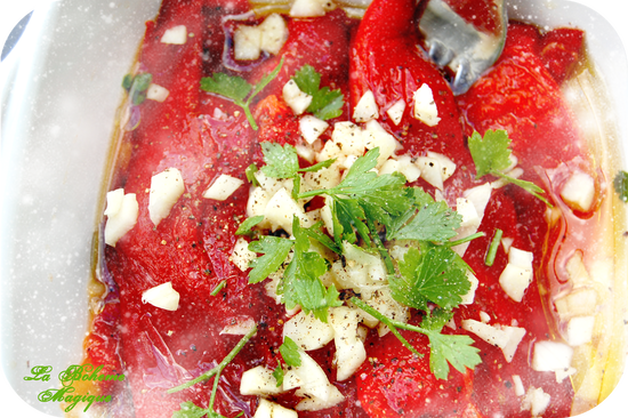
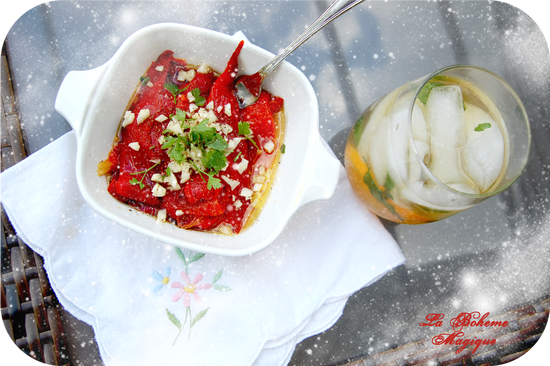
I grew up in an Italian Household where my parents were always entertaining and throwing dinner parties. The one smell that I always love, is the scent of peppers roasting in the oven! It just always smells like home. I usually always have these on the antipasto menu! They are DELICIOUS, and absolutely EASY to make… ROASTED RED PEPPERS Ingredients 1 Red Pepper per person 1 Clove of Garlic A Few Sprigs of Fresh Parlsey Extra Virgin Olive Oil Sea Salt Ground Black Pepper So we are going to start with our peppers, I am going to make 2 for today. Before we cook with them, let’s just rinse them anyway to be safe! After they are rinsed, dry them, and place them on a baking sheet covered with tin foil. Preheat your oven to 350 degrees. Pop those babies in the oven, and leave them in there for about a half hour or until the skins look like they’re starting to charr and start peeling off of the pepper… You also want your peppers to feel soft to the touch, not really firm anymore, so make sure the insides are cooked before taking them out! Take them out and let them cool before handling!! Once they are cooled enough remove the stem/core and start peeling the skins off! After removing the skins, start running the peppers under water to remove all of the seeds and any skin remaining off the pepper slices. Place them in a dish, because we are going to start seasoning these babies! Chop up your cloves of garlic and collect your Parsley from your garden, or purchase it from your local farmer’s market as well! If that’s the case, give them a little rinse as well. Add your Extra Virgin Olive Oil to your peppers,sprinkle your garlic and parsley over the top, and then lastly add a pinch of sea salt and ground black pepper. Give that a good mixing, and you might wanna wrap this up and fridge it for 20 – 30 minutes before eating. They are best when they are cold! Alrighty! It’s time to try out our afternoon snack! OH MY GOODNESS! DELICIOUS!!! It’s been a great day of experimenting in my kitchen, and showing you some recipes that I made up, or just grew up with. Try them yourself, and let me know in the comments how you like them, or if you decide to try them, and you have your own ideas to add to them, I’d love to hear about em!
Ta ta for now!
0 Comments
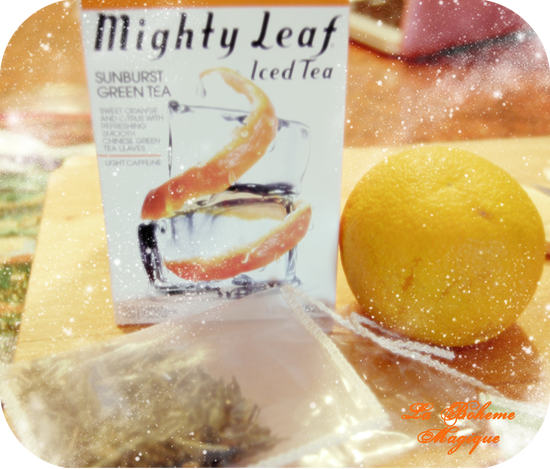
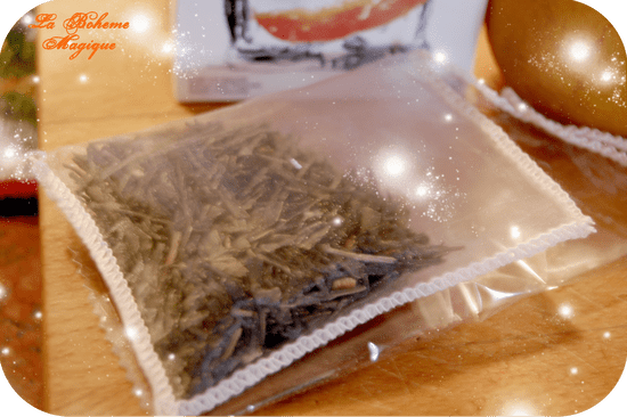
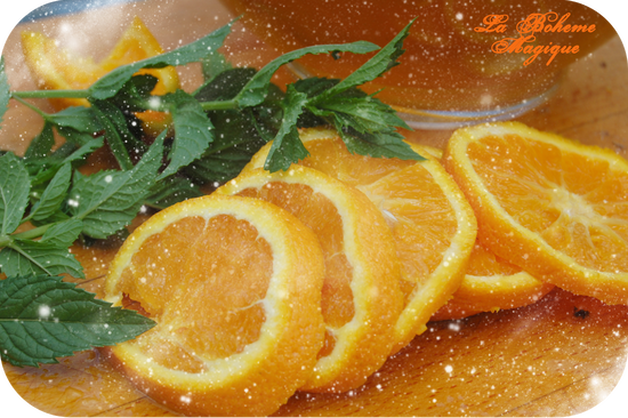
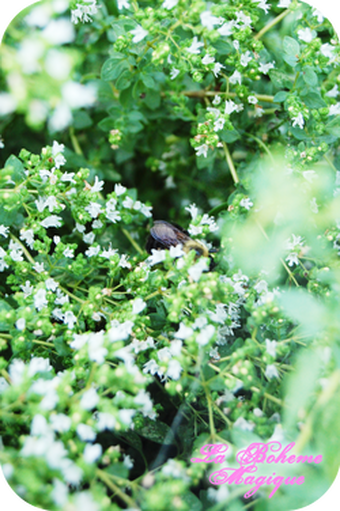
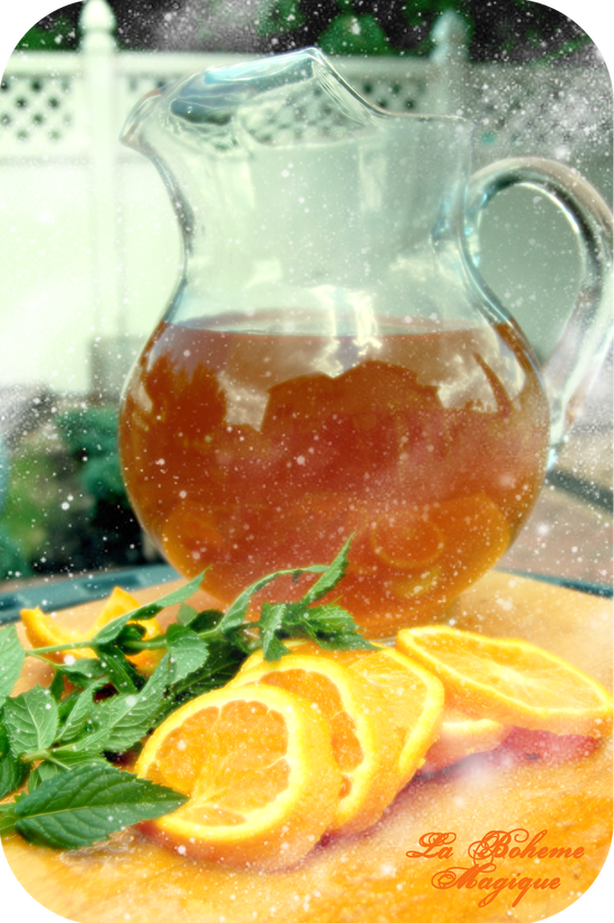
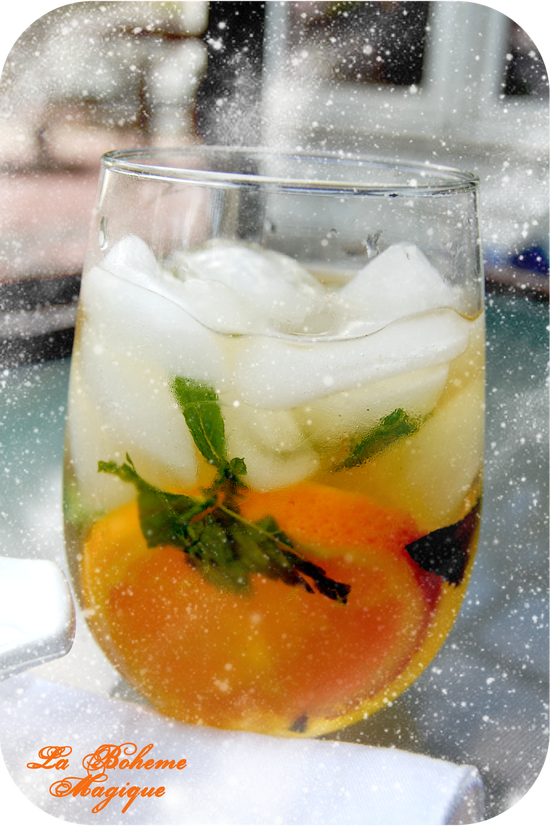
So I managed to get my hands on this Sunburst Green Tea Flavored Mighty Leaf Iced Tea! My mom brewed it the first time without all of the dressings I added this time, and it was a bit too strong even for me, so I added some stuff to soften the taste a bit for those who don’t like their iced tea too strong. Ingredients 1 Mighty Leaf Sunburst Green Tea Bag 1/4 to 1/2 cup Sugar (Depending on how sweet you like yours) 1 Fresh Orange A Handful of Fresh Garden Mint Ice So the steps for this recipe is pretty easy! First you boil your pot of water. (I don’t use a kettle for making ICED teas, I use a pot, because you want room to steep your tea bags using the whole batch of water!) And the tea bags for THIS specific tea are HUGE, but they are so pretty and they smell SOOOO GOOD! So once your pot of water comes to a boil, turn off the heat, and add your 1 large tea bag! Let that steep for however long, if you like stronger tea, let it steep longer, and if you like weaker tea let it steep shorter. While that is steeping, go ahead and add your sugar, and stir, stir, stir! You want all of your sugar to dissolve into the hot water. At this point you’re going to let your pot of water cool, or at least become lukewarm so it is a bareable temperature to work with when you add your fruit and herbs, which we are not trying to cook! *giggles* So now would be a good time to prep our fruit! Cut up one orange into slices like seen in the above picture! Also be sure to collect some fresh mint from your garden, if you do not have a garden you can buy it from any supermarket (Just be careful of pesticides, YUCK!!). Most farmer’s markets these days sell organic produce, which don’t use pesticides, BUT I’d give them a good rinse off anyway, cuz you really don’t know where it’s coming from or who is handling it. If you’re picking from the garden, be careful of BEES!
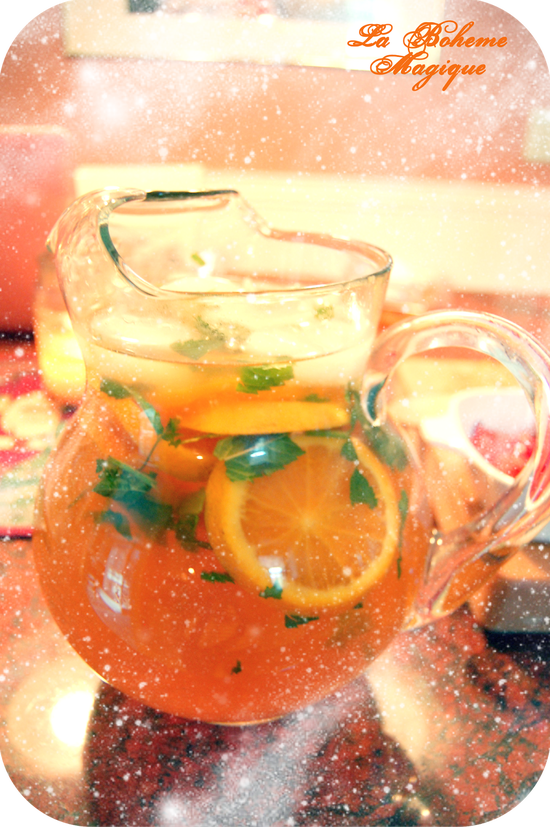
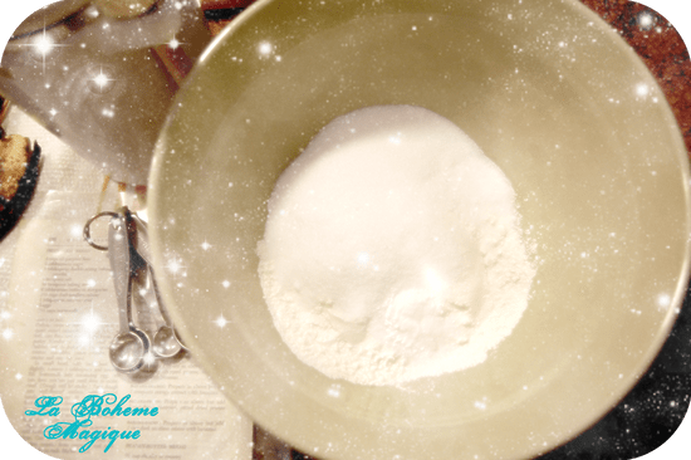
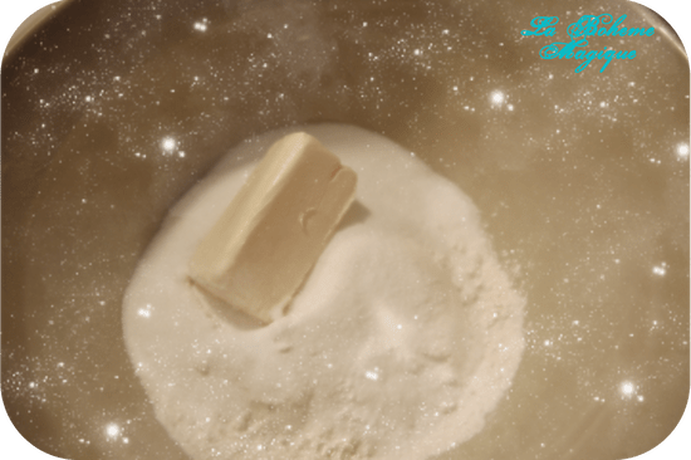
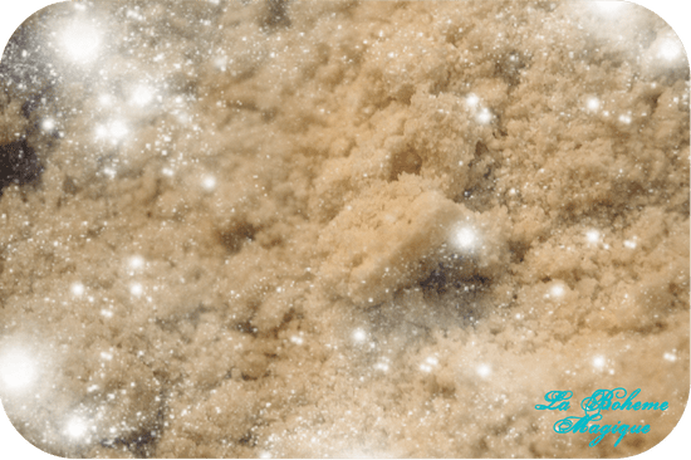
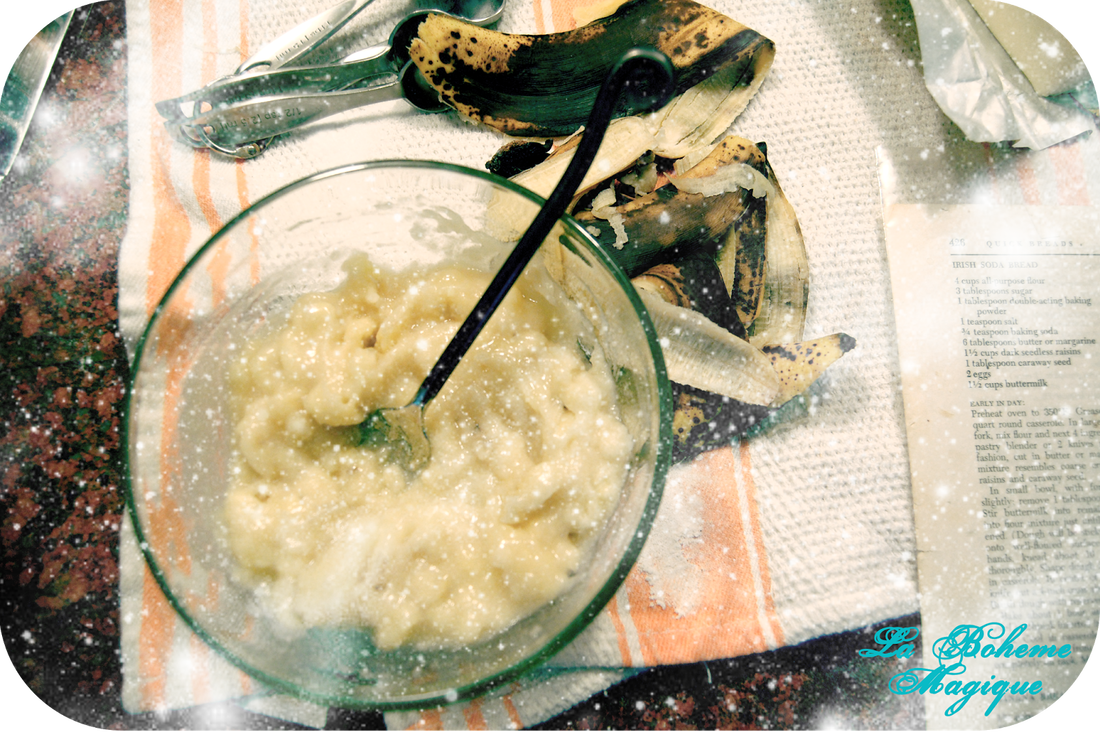
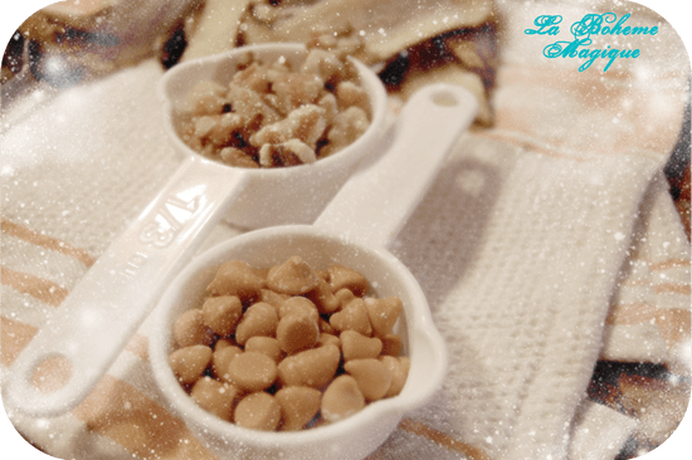
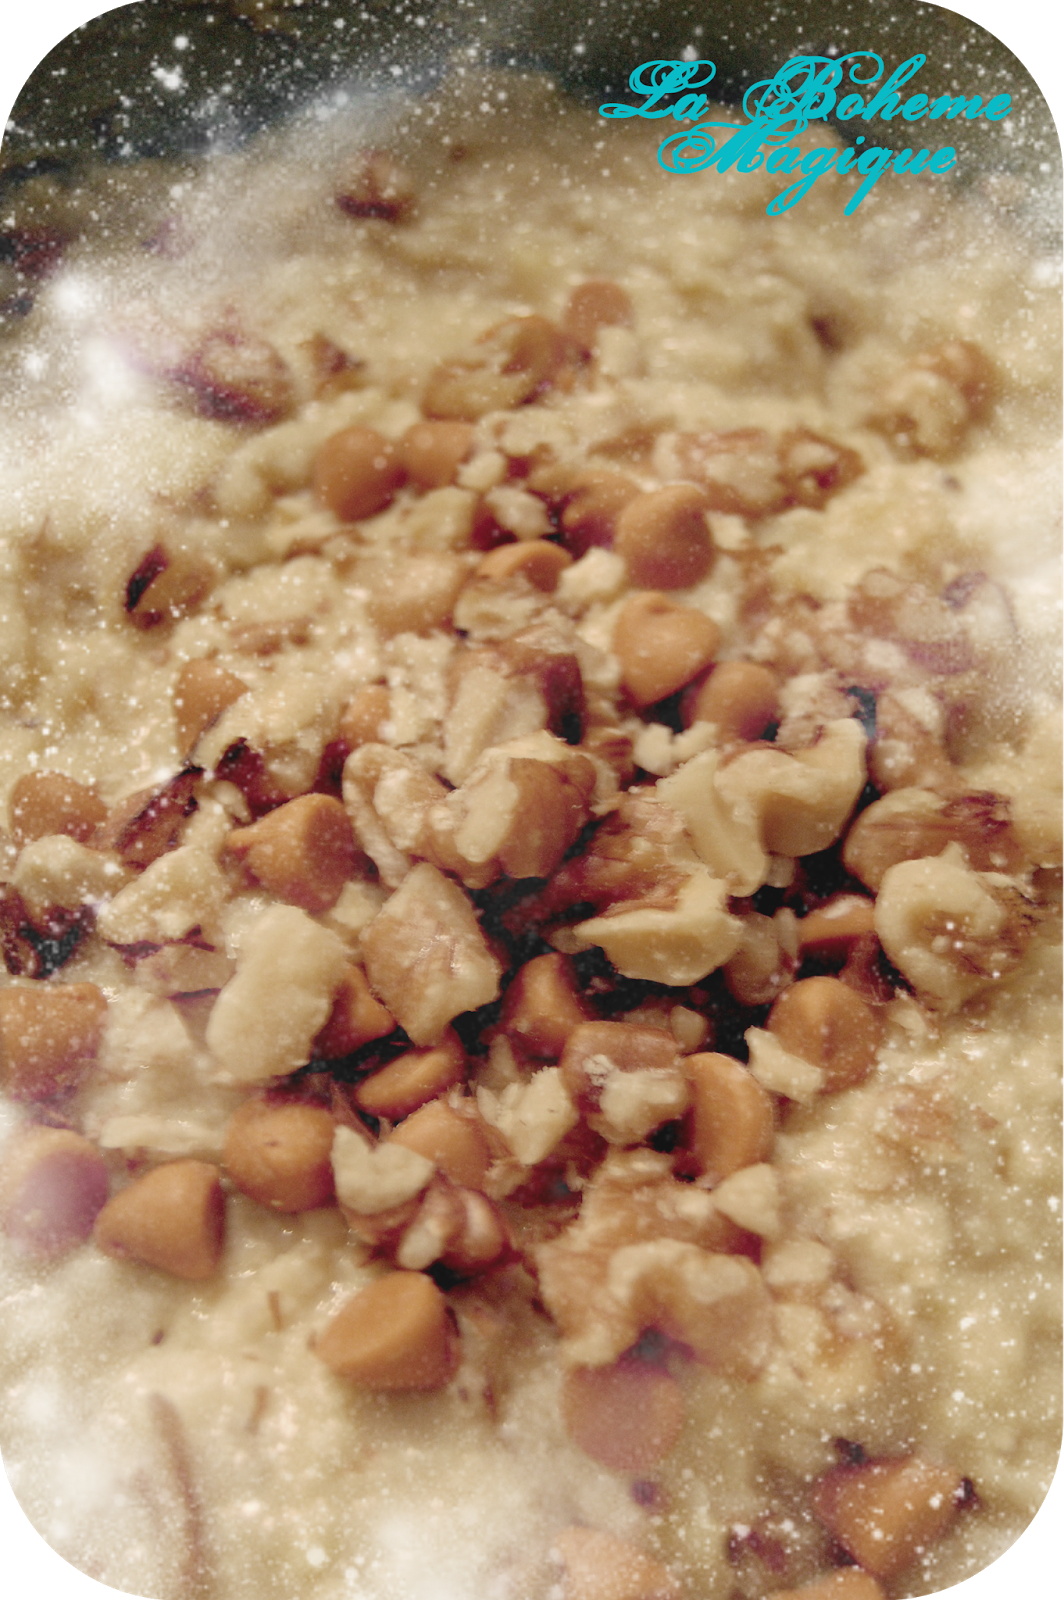
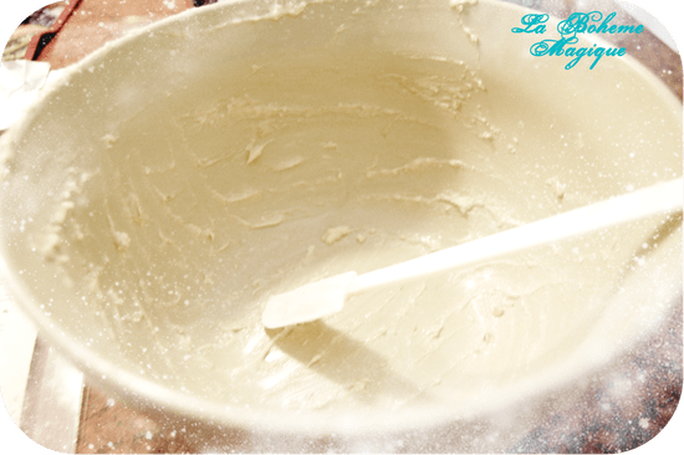
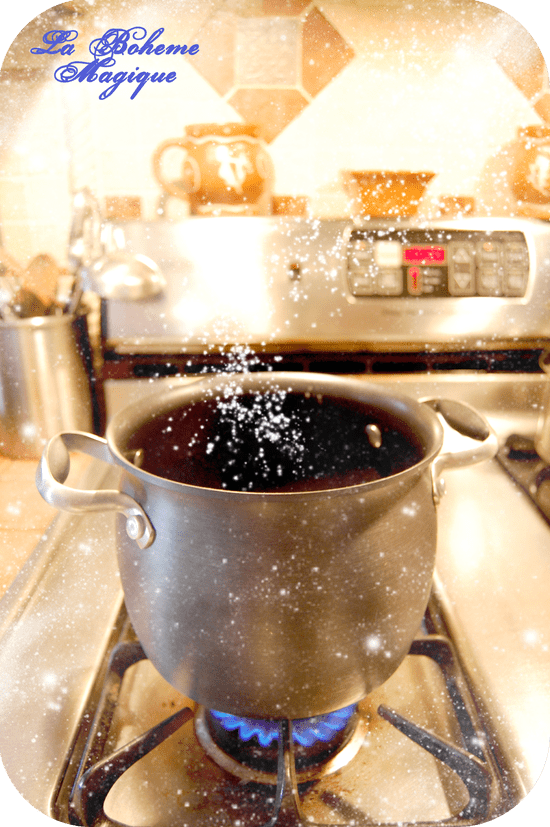
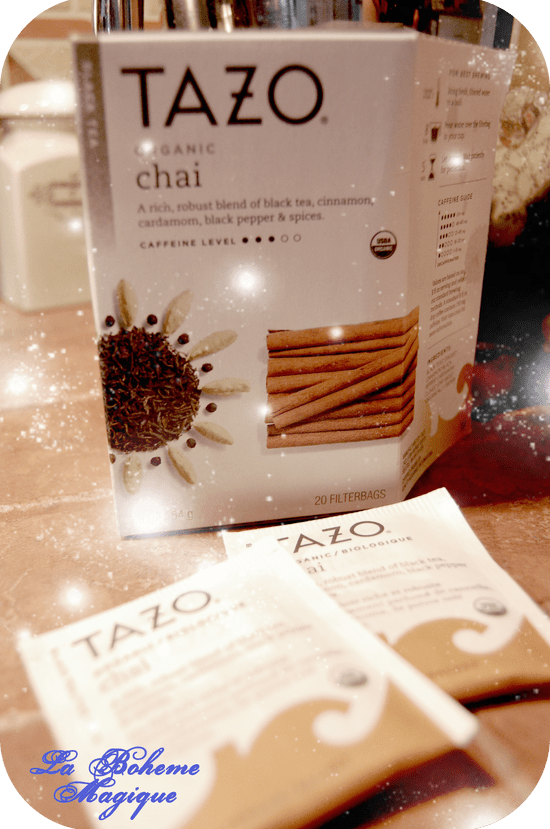
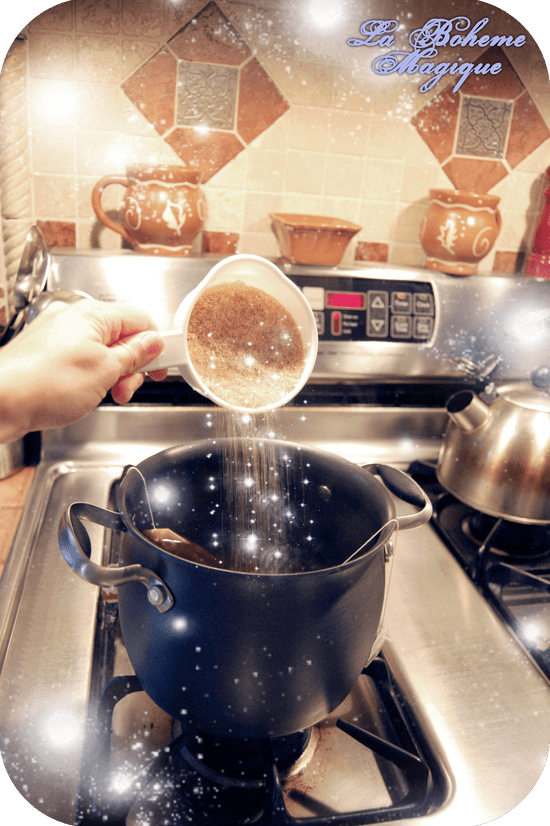
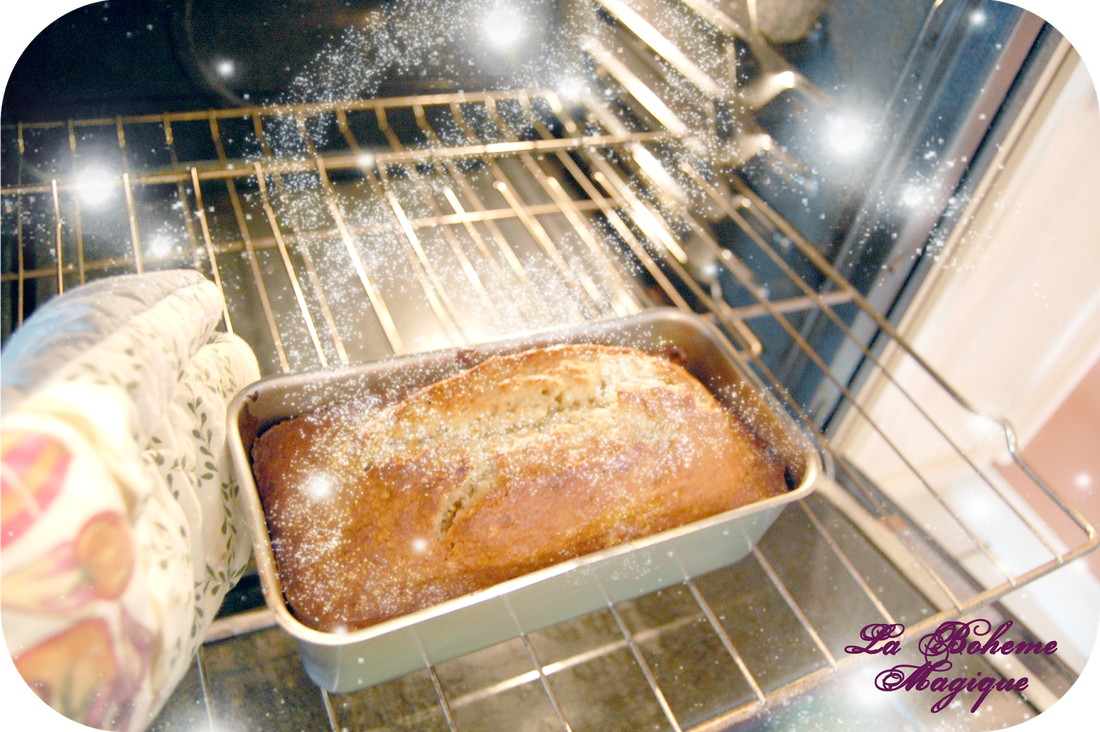
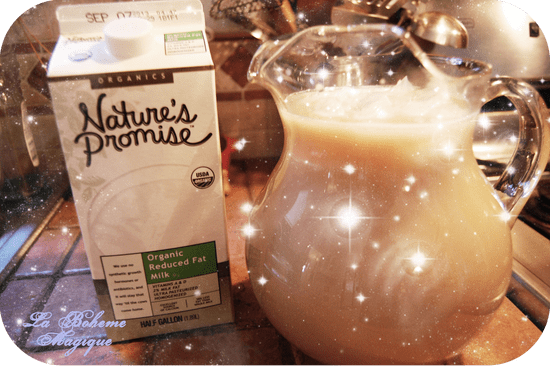
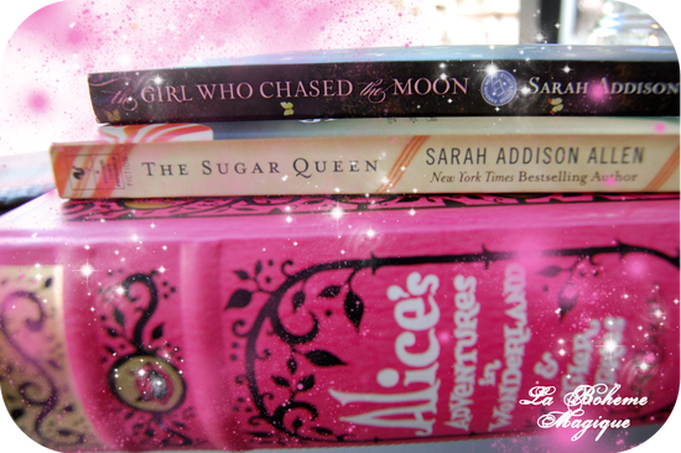
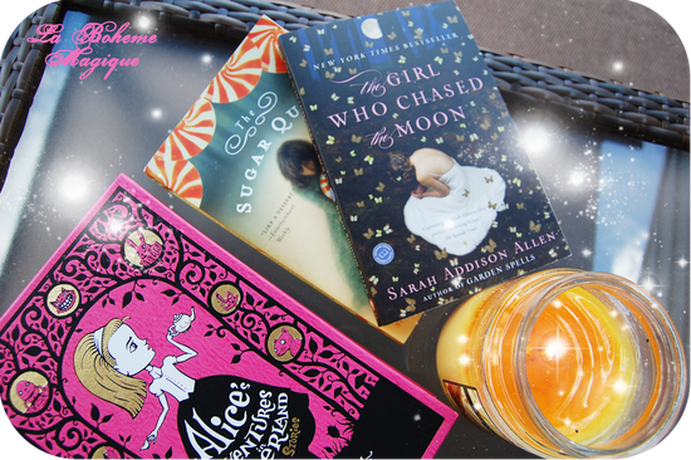
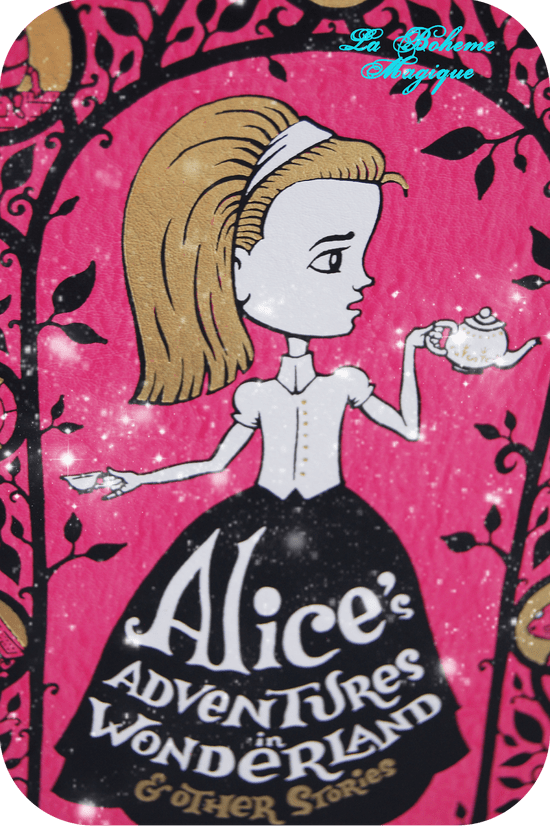
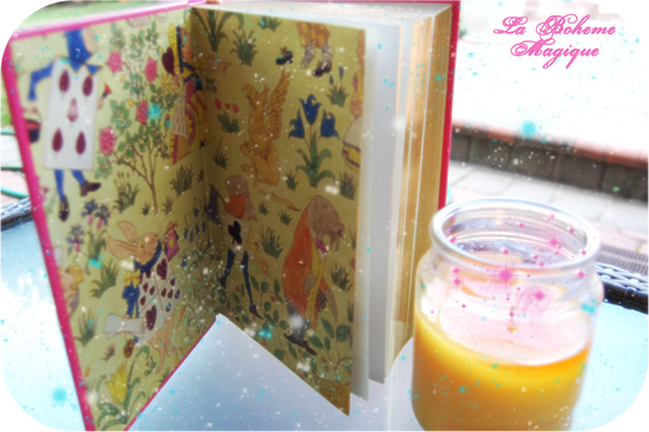
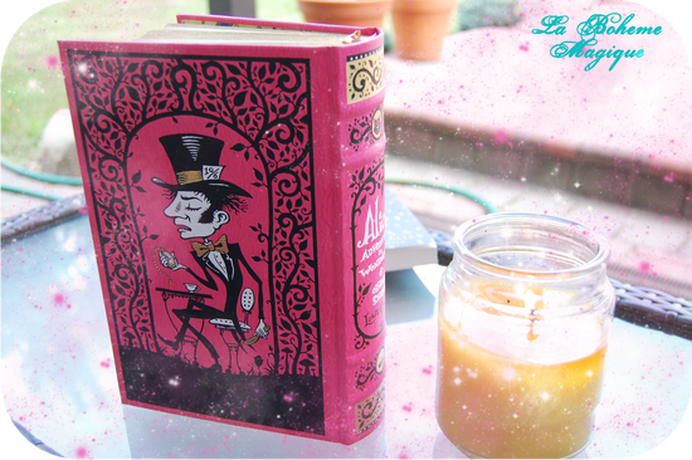
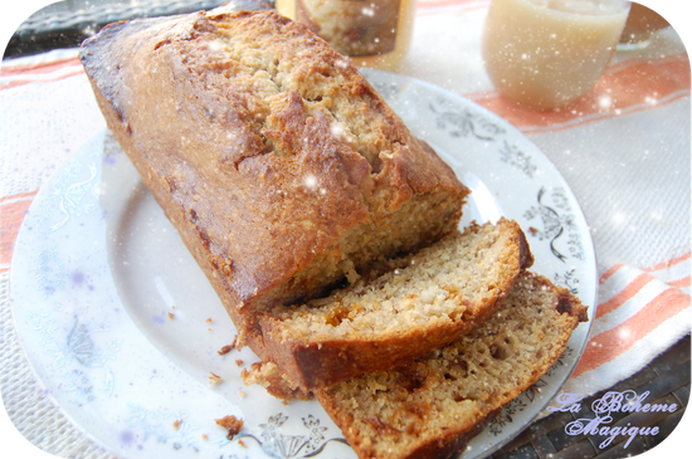
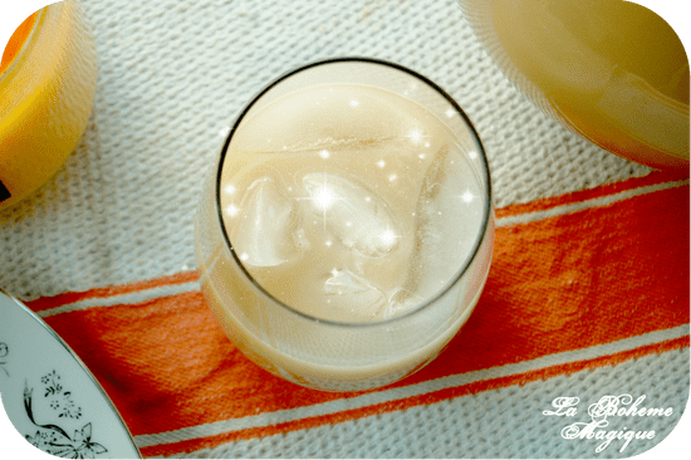
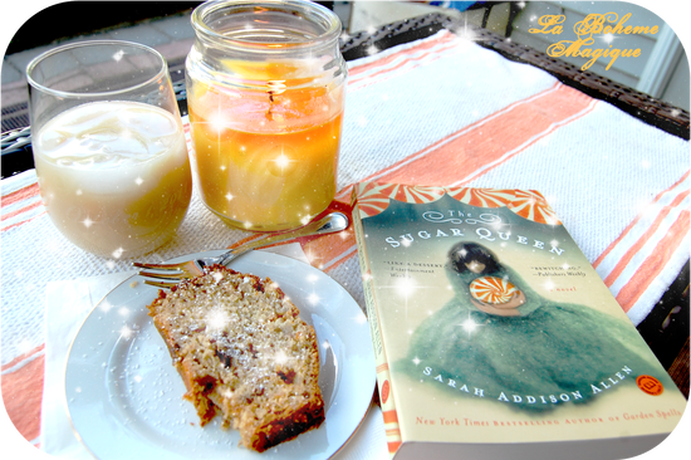
Now is when you add your orange, mint, and ice! How colorful and beautiful does that look!?!? Let’s have a taste of our magical concoction! NOW, THAT’S REFRESHING! You can sip on this while cooking another whimsical recipe, or while your gardening on those hot summer days! Either way, Enjoy! Til next time… So my mom has been making this banana bread recipe since I was very little and it’s always fun to try different versions of it with different little surprises added inside. You can pretty much add anything you want to the batter, but today I decided to try out some butterscotch morsels with walnuts. I also had dried cranberries on hand, but wasn’t sure if that would be overkill. Maybe next time! So my mother brought to my attention that the bananas were starting to go bad, which is the BEST time to make banana bread!! She wanted to make it, but she was busy with some other things, so she asked me to. So I whipped out her handy dandy recipe! INGREDIENTS 1 3/4 cups of all purpose flour 2/3 cup sugar 1 teaspoon double acting baking powder 1/2 teaspoon salt 1/4 teaspoon baking soda Once I got all of my ingredients together I preheated my oven to 350 Degrees and then I added the dry ones first to a large mixing bowl. Next add 1/2 cup of shortening, or you can use butter or margarine. I actually used Earth Balance Vegan Butter and it worked just as well! I also used the same thing to grease my pan. Here in this step you want to cut the butter or shortening into your dry ingredients with 2 knives, scissor style, OR you can do what I did and mash it all together with your hands… (Make sure you take off your rings and your hands are clean !) Mash it together until you get these coarse crumbs! Next mash up your 2 overly riped nanners, and lightly beat 2 eggs! Add that to your crumbly dry mixture along with a half a cup of your butterscotch morsels and a half a cup of your crushed walnuts! Fold all of that into your batter with a spatula! Now grease your bread pan, and pour your batter into it. Pop that baby in the oven and set your timer to 55 minutes to 1 hour! Before our next recipe, let’s take a much needed and well deserved break! Time to LICK THE BOWL!!! :-X (That part always makes me still feel like a kid again!) While that is in the oven it is time to get started on our magickal refreshing Chai Tea Elixir! This is great to drink on the side with your banana bread! CHAI TEA ELIXIRFirst bring a pot of water to a boil… Once that is boiled, turn off the heat and get out 2 teabgs. I love this Organic Tazo Chai, but you can use any brand of Chai that you wish. Put the 2 tea bags in your pot of HOT water and let that steep. You might want to wrap the tea bag’s string around the pot handle to prevent the whole thing from falling into the water. Be careful not to burn yourself doing this! Also, while your teabags are steeping and your water is still HOT, now add your sugar and stir so it dissolves. You can add sugar to taste: less if you don’t like it as sweet, or more if you love a sweet chai like myself While your tea is steeping, check on your banana bread! Stick a toothpick or fork in the center, and if you have raw batter come out onto the fork, then let it bake a bit more. Mine was actually still a bit uncooked in the center after a full hour. I think I added an extra 10 minutes, and again it was still uncooked. Finally after adding another 15, it was baked all the way through. Time to take out our BANANA BREAD! Let that cool on your stovetop now, and go check on your chai tea… Once your tea is lukewarm on the stove, now it is time to pour it into a pitcher, add a handful of ice,and also some milk to taste. Add more if you like your tea lighter, less if you love a dark tea. I love my chai creamy, so I added a lot of milk! Put that in the fridge to chill it for a bit until you are ready to serve! While your bread is cooling, and your tea is chilling, there are a few things I want to show you… I bought some new books!! I had a some money on a gift card that I had been saving for a special occasion. Well I had just finished reading Garden Spells by Sarah Addison Allen, and I was really craving more of her magical stories, so I had set out to find some more of her work. I picked up The Girl Who Chased the Moon, and The Sugar Queen. Aren’t these beautiful? I can’t wait to devour their magical pages! Aside from the Sarah Addison Allen Books, I also stumbled upon a beautiful bright pink leather bound book called Alice’s Adventures in Wonderland and Other Stories. I thought the cover was so enchanting with its filigreed whimsical cover with golden accents. The inside covers are beautifully illustrated with gold dipped pages. The book also includes a silk book mark sewn into the binding and the pages themselves include the original illustrations by Sir John Tenniel The back cover has the Mad Hatter on it, which I loved as well!! I cannot wait to read these amazing works! I thought the book was so beautiful that I just had to add it to my collection! I really wanted to share it with you all O would you look at that! Our bread is cooled and our chai tea latte is chilled! Would you like a slice or two? Don’t forget to have some iced chai tea latte! It is sure to keep you cool on this HOT SUMMER’S DAY! I think I have decided which book I want to start with: THE SUGAR QUEEN! Now excuse me while I cozy up in a cushiony chair under the shaded pergola and devour my tasty afternoon sweet treats and my magical book!
CHEERS! |
About JustinaJustina is the creative force behind Bohemian Magic Studios. She is inspired by bright colors, nature, books, and movies. She loves cooking, arts n crafts projects, essential oils, reading the tarot and talking about astrology! SAVELANDS Join me in my mission to plant trees! Look cute and help save Mother Nature! Join me in my mission to plant trees! Look cute and help save Mother Nature!
Archives
June 2021
Categories
All
|






 RSS Feed
